My Summer At Studio X

a group of pre-college students posing for a group photo.

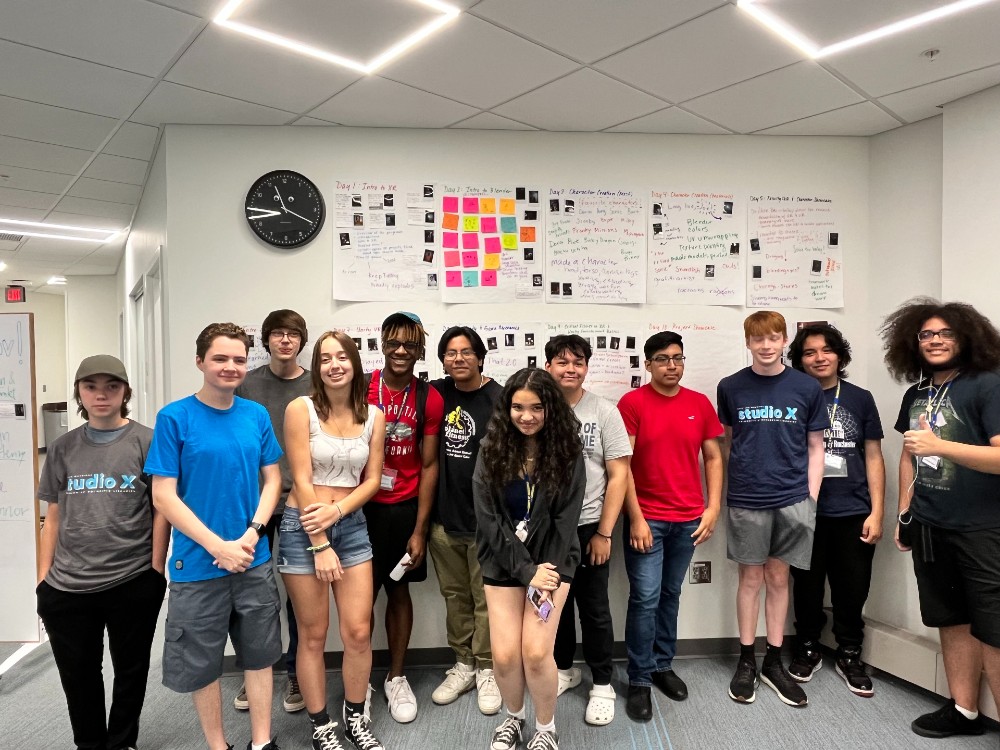
This summer, I worked full time at Studio X. Even though the campus felt pretty empty with almost all the other undergrads home for summer, there was a lot going on in Studio X! For example, for two weeks in July, we held a pre-college program called “XR: Content Creation and World Building.” In this program, high schoolers came all across the country to learn about the world of extended reality or XR.

“Learn how XR (the umbrella term for augmented and virtual reality) experiences are created! Students will study the history of immersive technologies and gain technical skills by exploring both the basics of 3D graphics for asset creation and how to develop XR environments with Unity, a popular game engine. We will also discuss the applications and impact of XR across humanities, social science, and STEM fields. All learning levels welcome.”

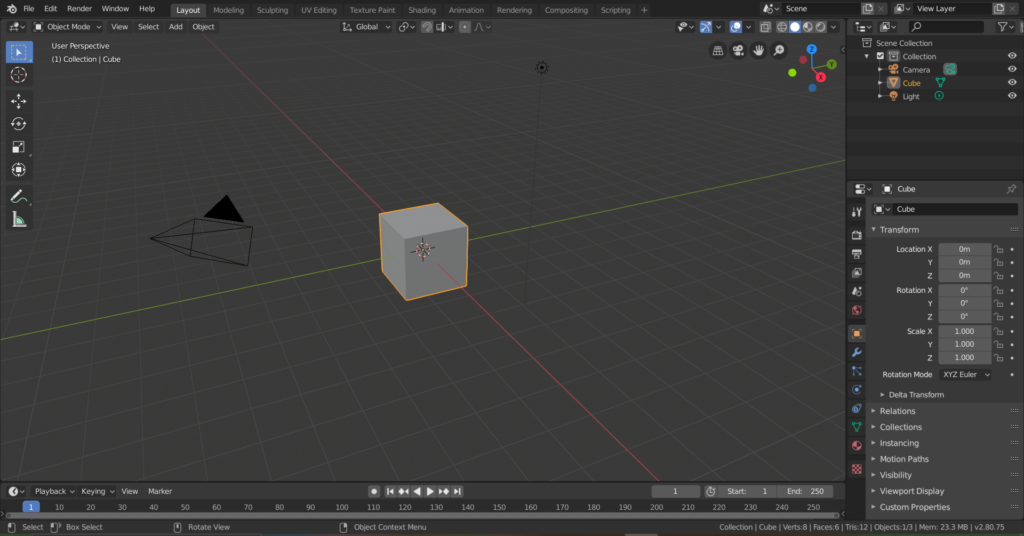
It was really exciting to be a part of this program to teach passionate students about XR creation. As we prepared for the students’ arrival, we asked ourselves, “How can we introduce a dozen high school students to the complex and technically challenging world of XR development, all within two weeks of half-day sessions?” This was a challenge indeed. We knew that we wanted the students to walk away with a basic understanding of the fundamentals of Blender, a 3D modeling and content creation tool, and Unity, a game engine commonly used for VR development, but we did not want to overwhelm them with too much new material all at once. We decided that we would have to create a highly detailed plan, carefully crafting how we would use the two weeks that we have with the students.

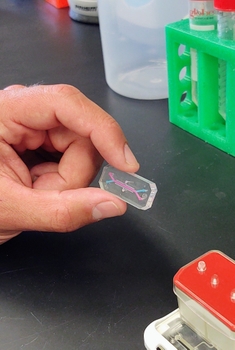
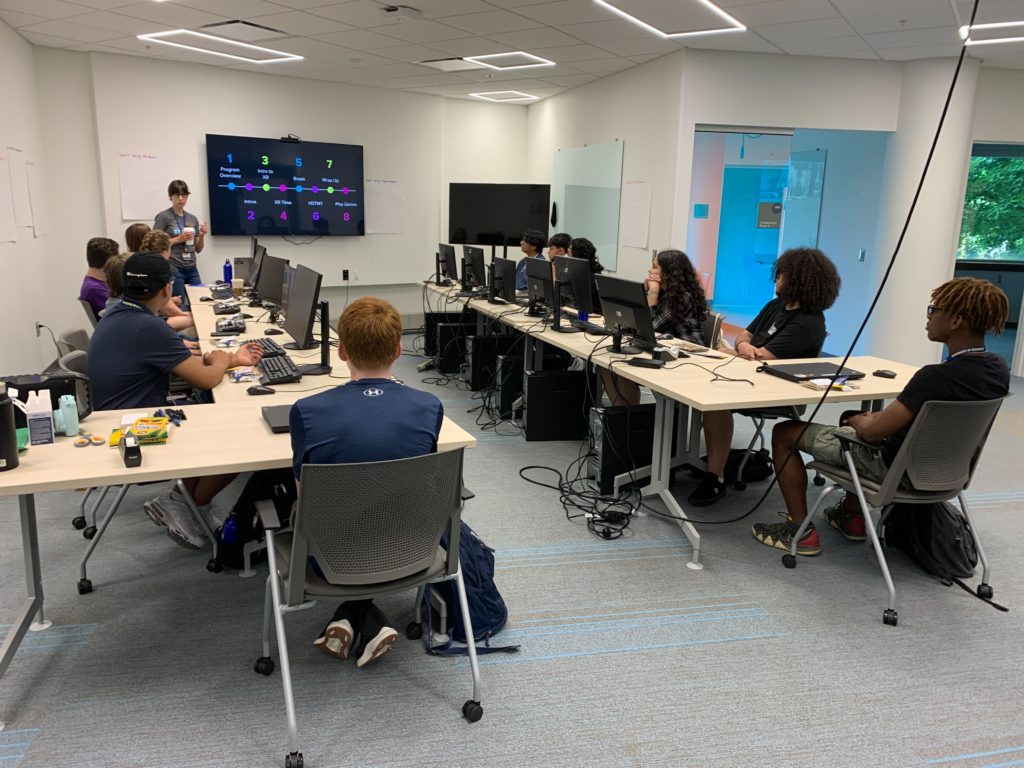
Over the course of June and early July, we worked to create this plan, taking every little detail into consideration. The first major obstacle we faced was how we were going to ensure that each student would have the necessary hardware and software in order to complete the activities we were planning. Blender and Unity can both be very taxing on computers, and it is often the case that folks don’t have the necessary hardware, even for our undergraduates. It was very important that this program was open to anyone who was interested and that technical experience or personal hardware was not a limitation. We decided that instead of having each student bring in their own computer, we would use the high-powered workstations that we already have in Studio X. This, however, created the question of how to organize a dozen PCs in our space that each use a very large amount of power. With 12 high-powered PC’s running all at the same time in the same place, we actually ended up blowing a circuit and had to re-think our plans. We considered several options, including using another space or splitting up the group into different rooms, but we eventually decided to completely reorganize Studio X in order to keep the group together in one space. I really liked the way we eventually configured the space, as it allowed us to keep the whole group together and helped us build a stronger community as we worked.

An image showing Studio X configured to have all 12 PCs in the same place
Studio X configured to have all 12 PCs in the same place

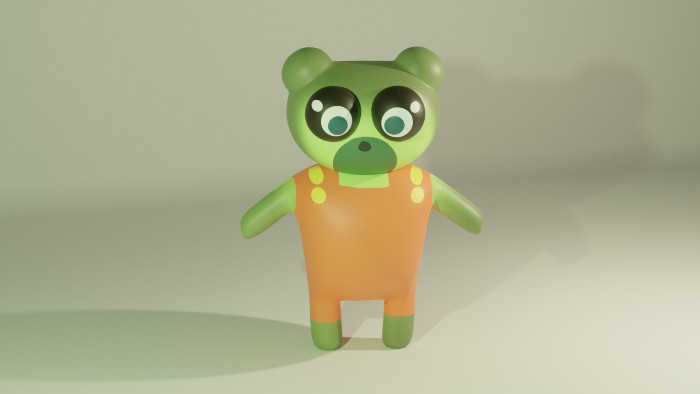
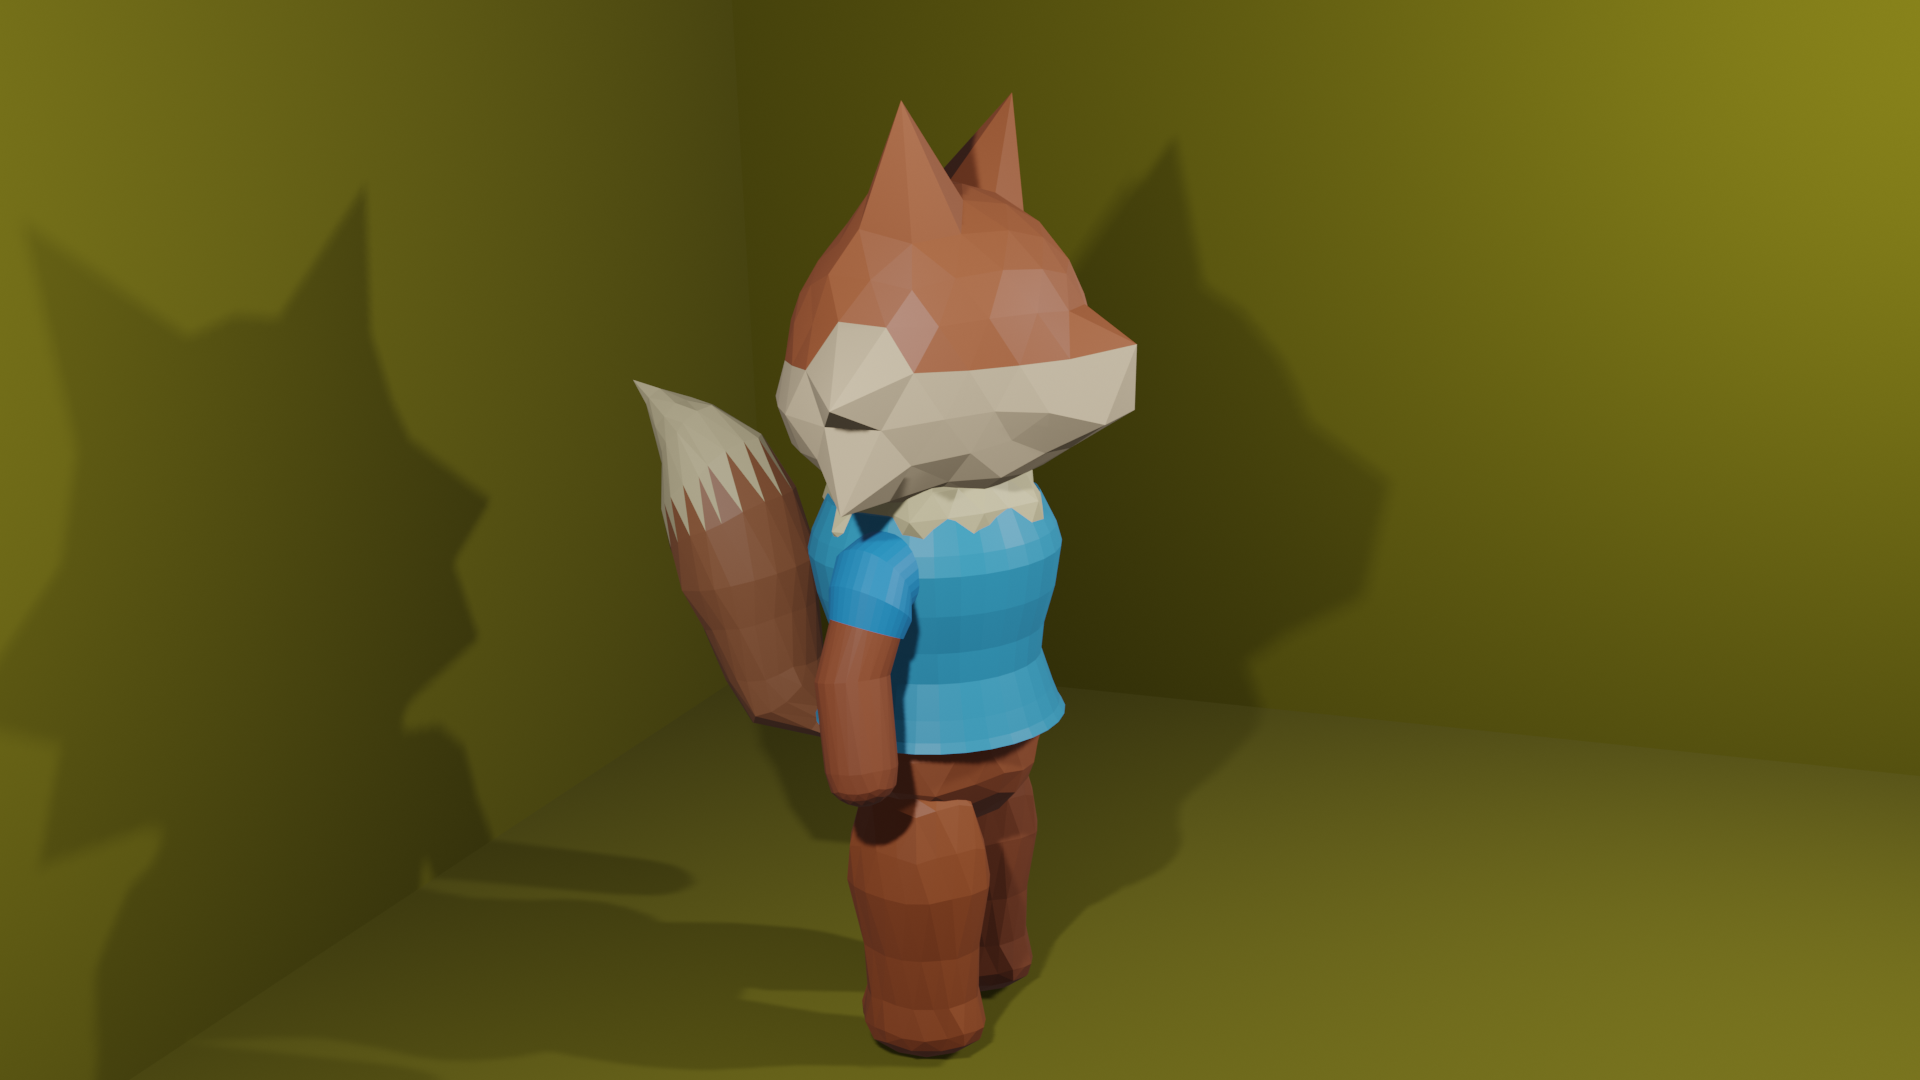
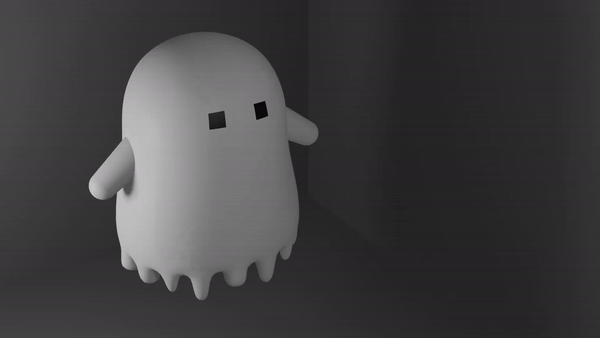
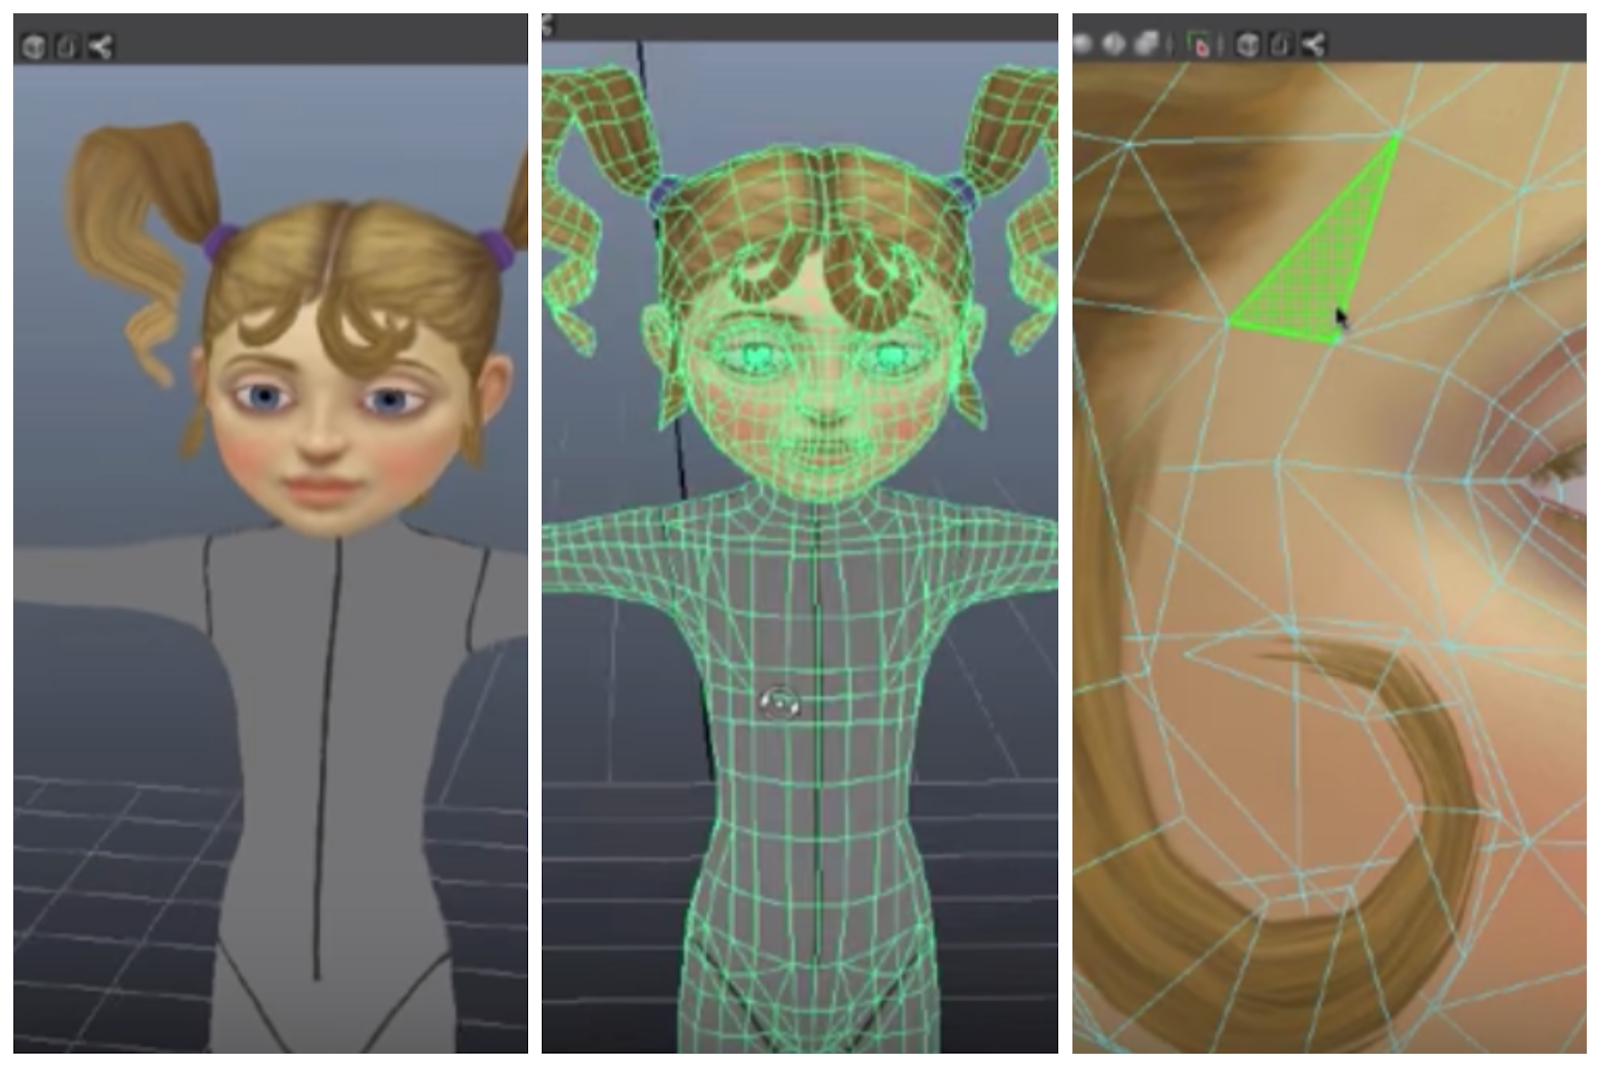
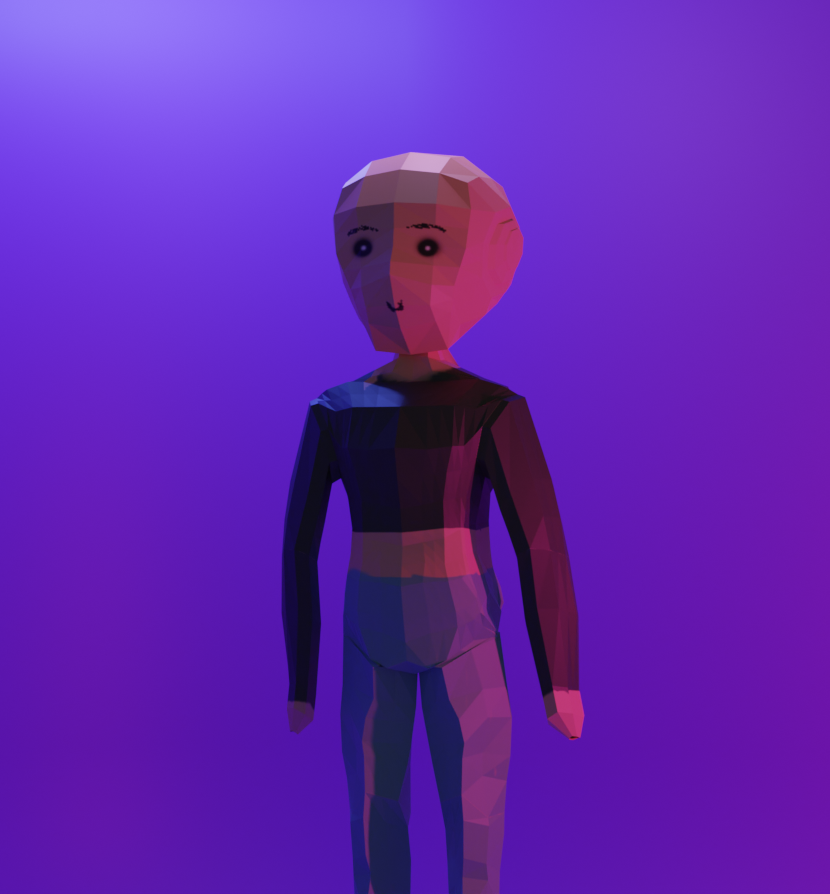
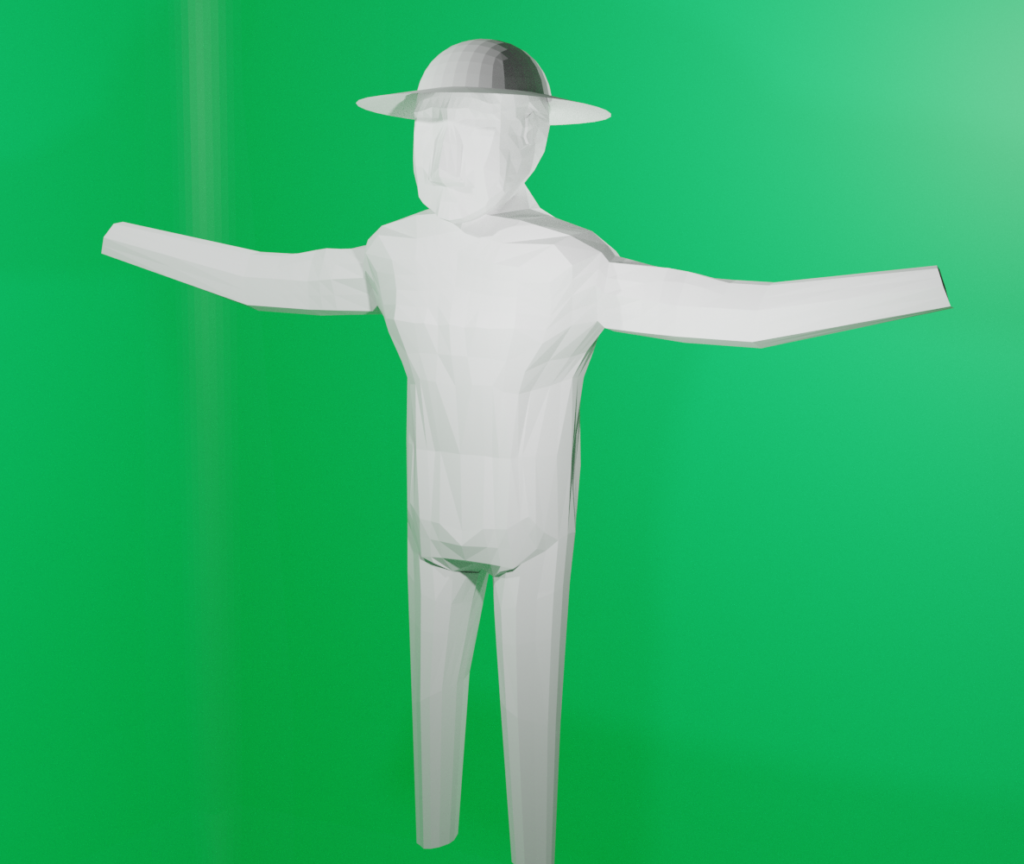
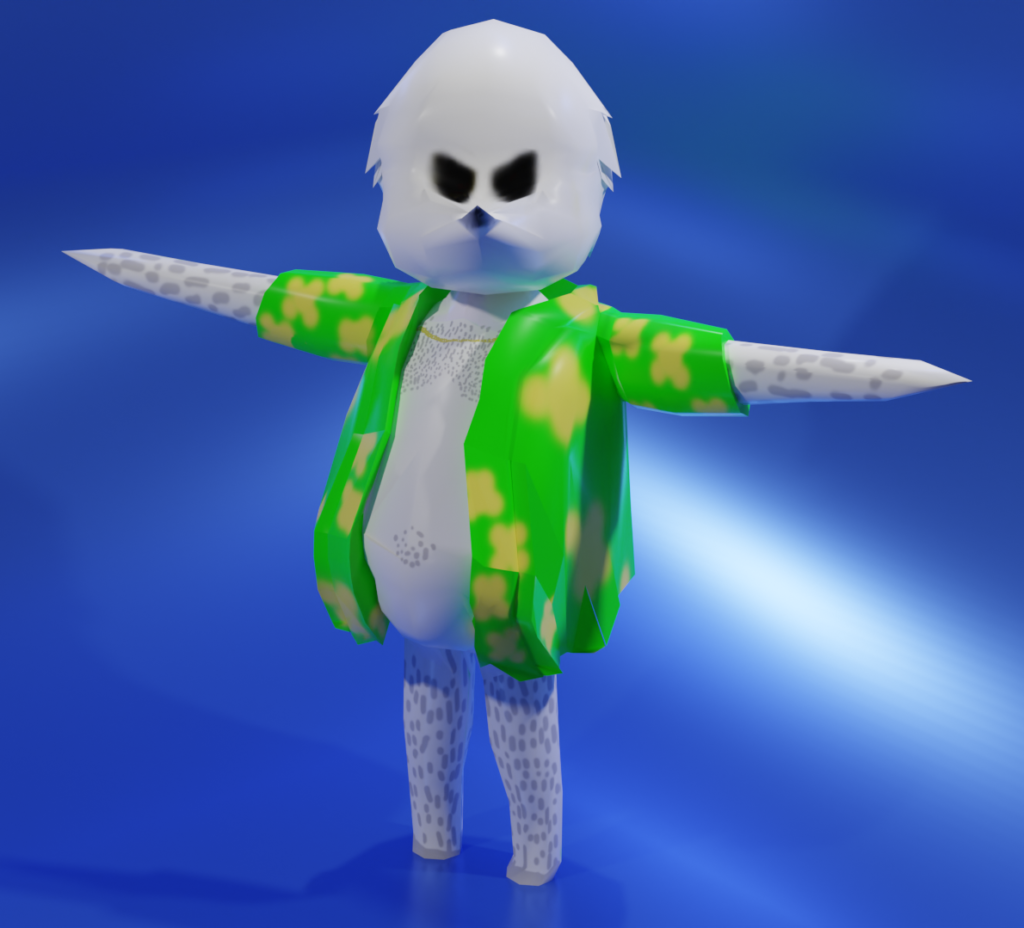
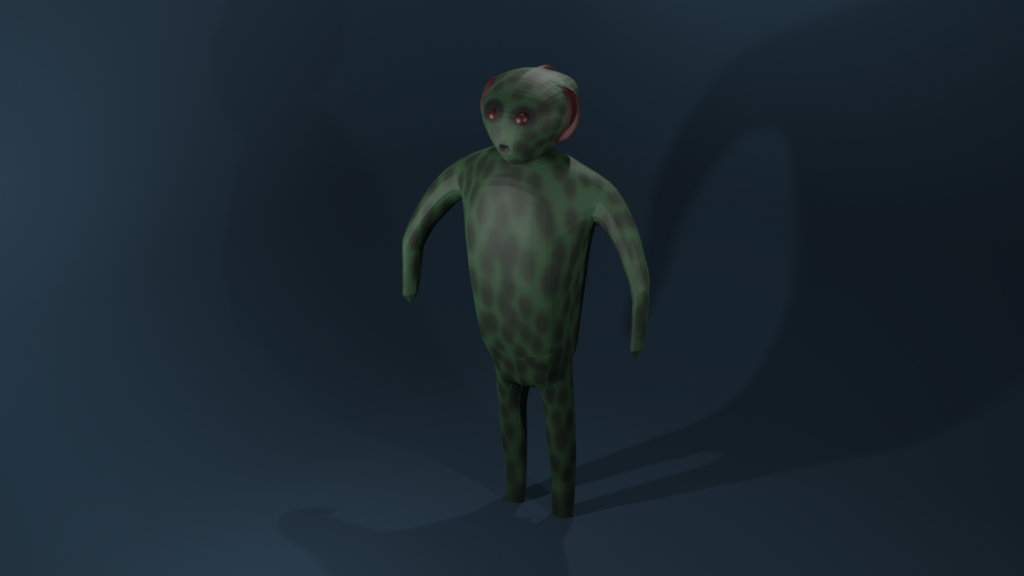
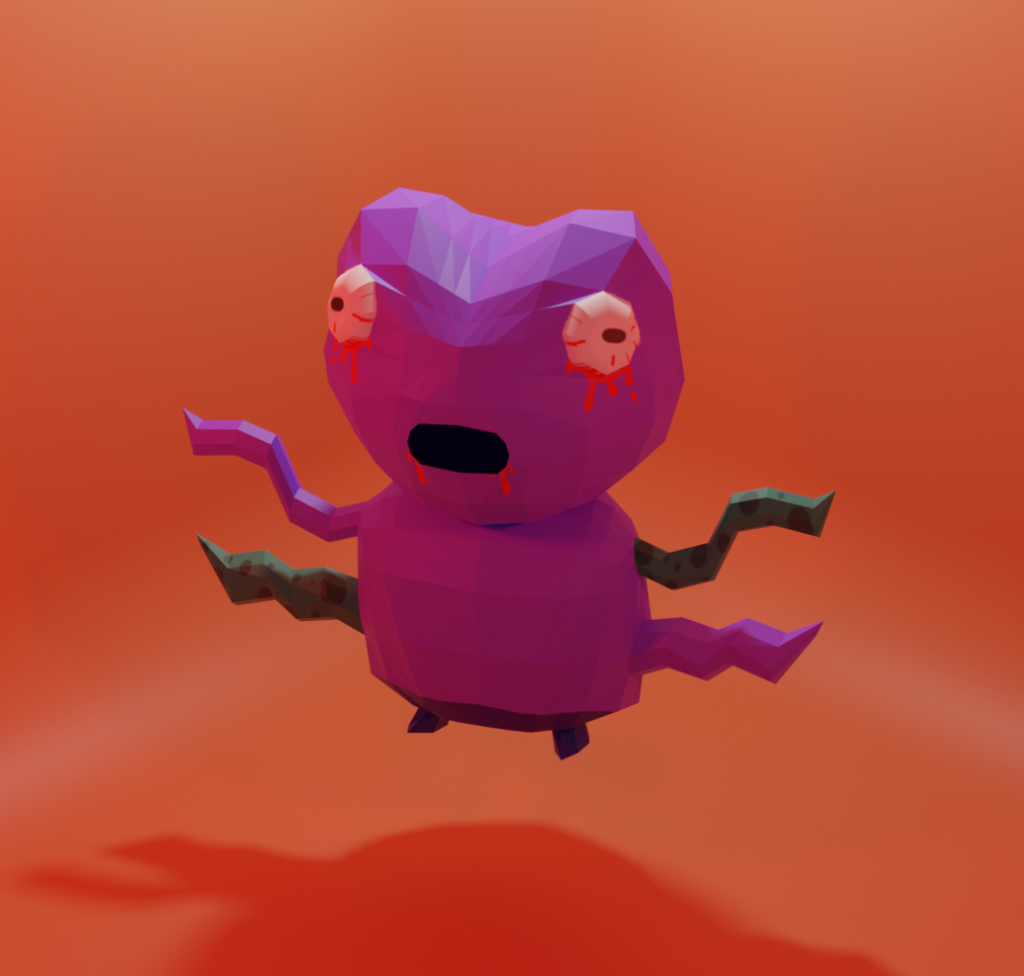
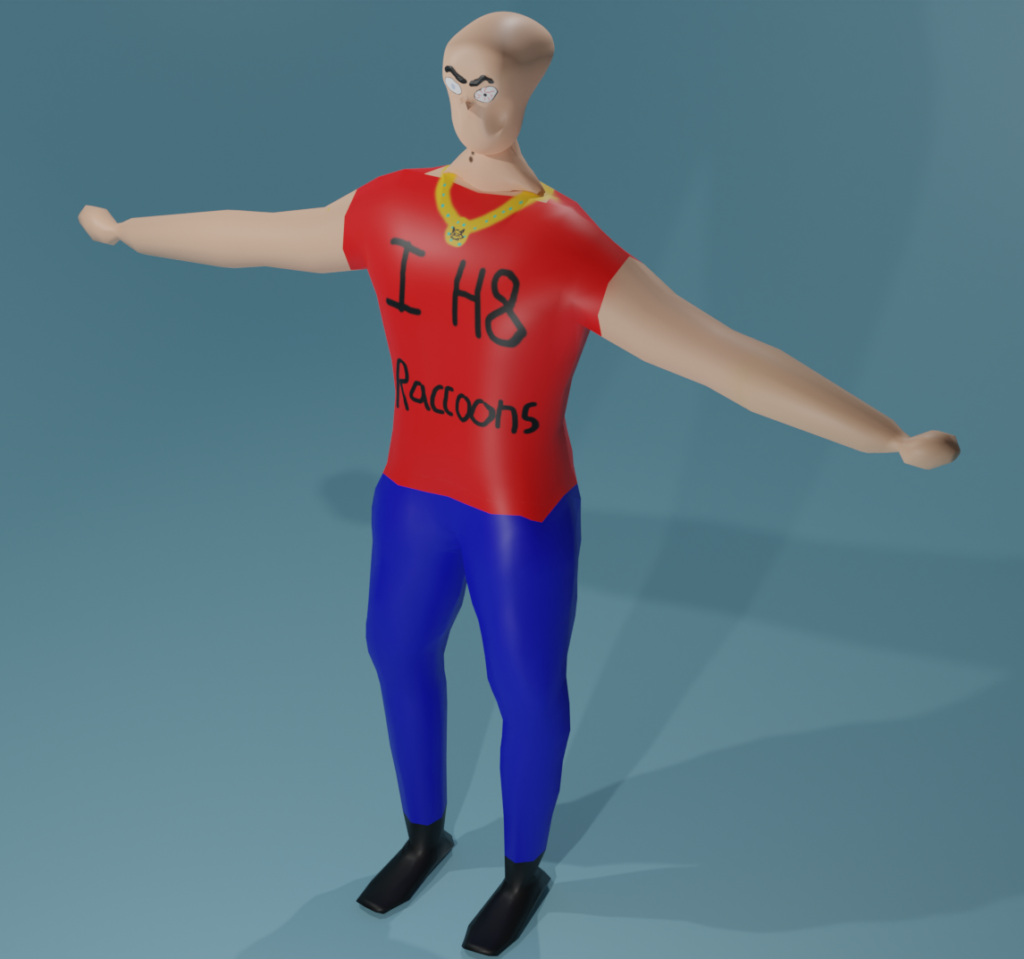
After solving our issue of how to organize the computers, we could focus our energy entirely on planning out how to best use the two weeks with the students. The first week was focused on learning Blender. We wanted to give an introduction to 3D concepts, Blender basics, and character modeling. We felt that this would give our students a foundational understanding of how to navigate Blender, while still being realistic with the time that we have. Blender can be a very challenging program to learn. There are many different things that you can do using the software, and oftentimes it can be very overwhelming the first time that you try it out. Although we felt like we were trying to introduce a lot in a short amount of time, we were very excited to see what the students could make. At the end of this week, each student had their very own 3D modeled character. The students did an amazing job creating their characters in Blender. It was so impressive how fast they were able to learn, and it felt so good to see our planning pay off.

Image showing an example of Blender's UI
An example of Blender’s UI

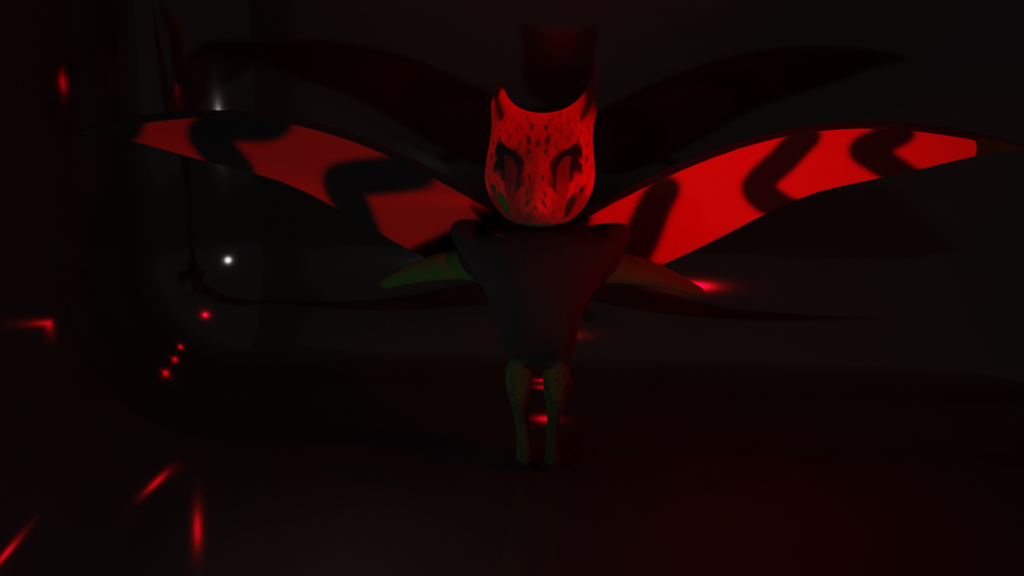
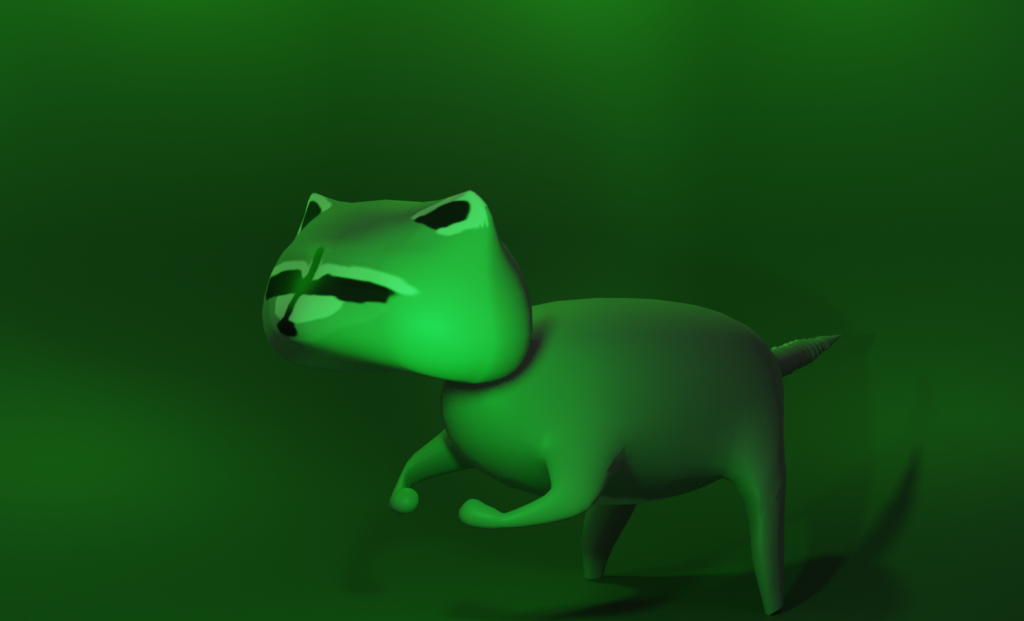
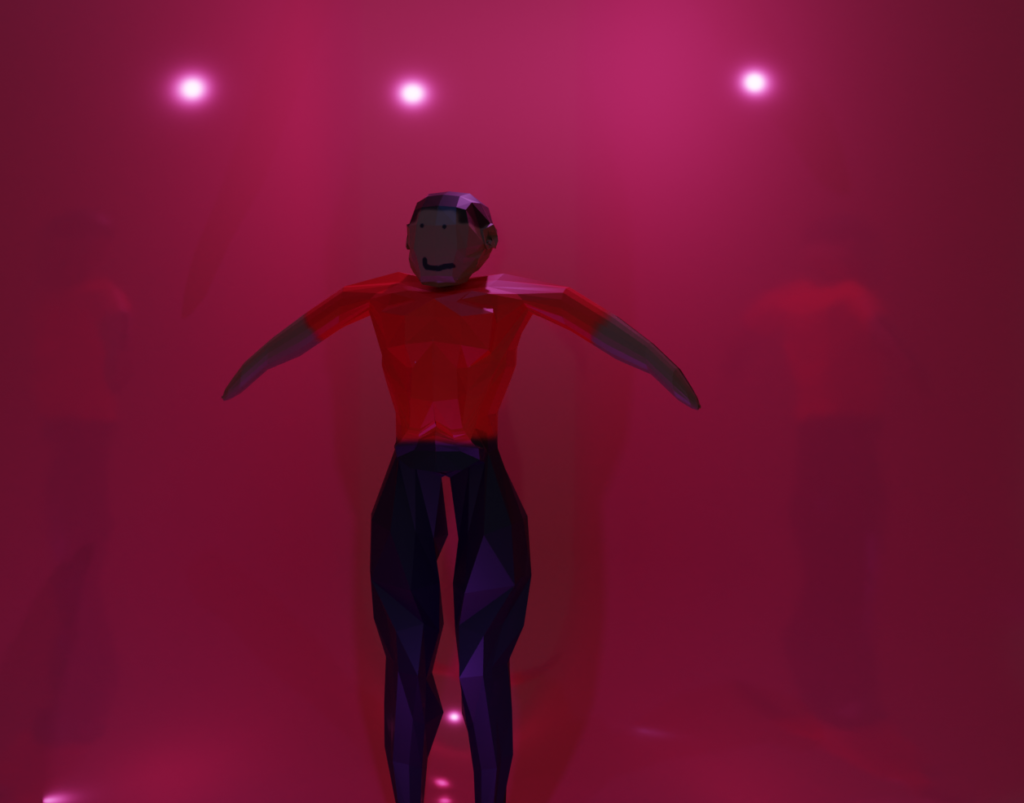
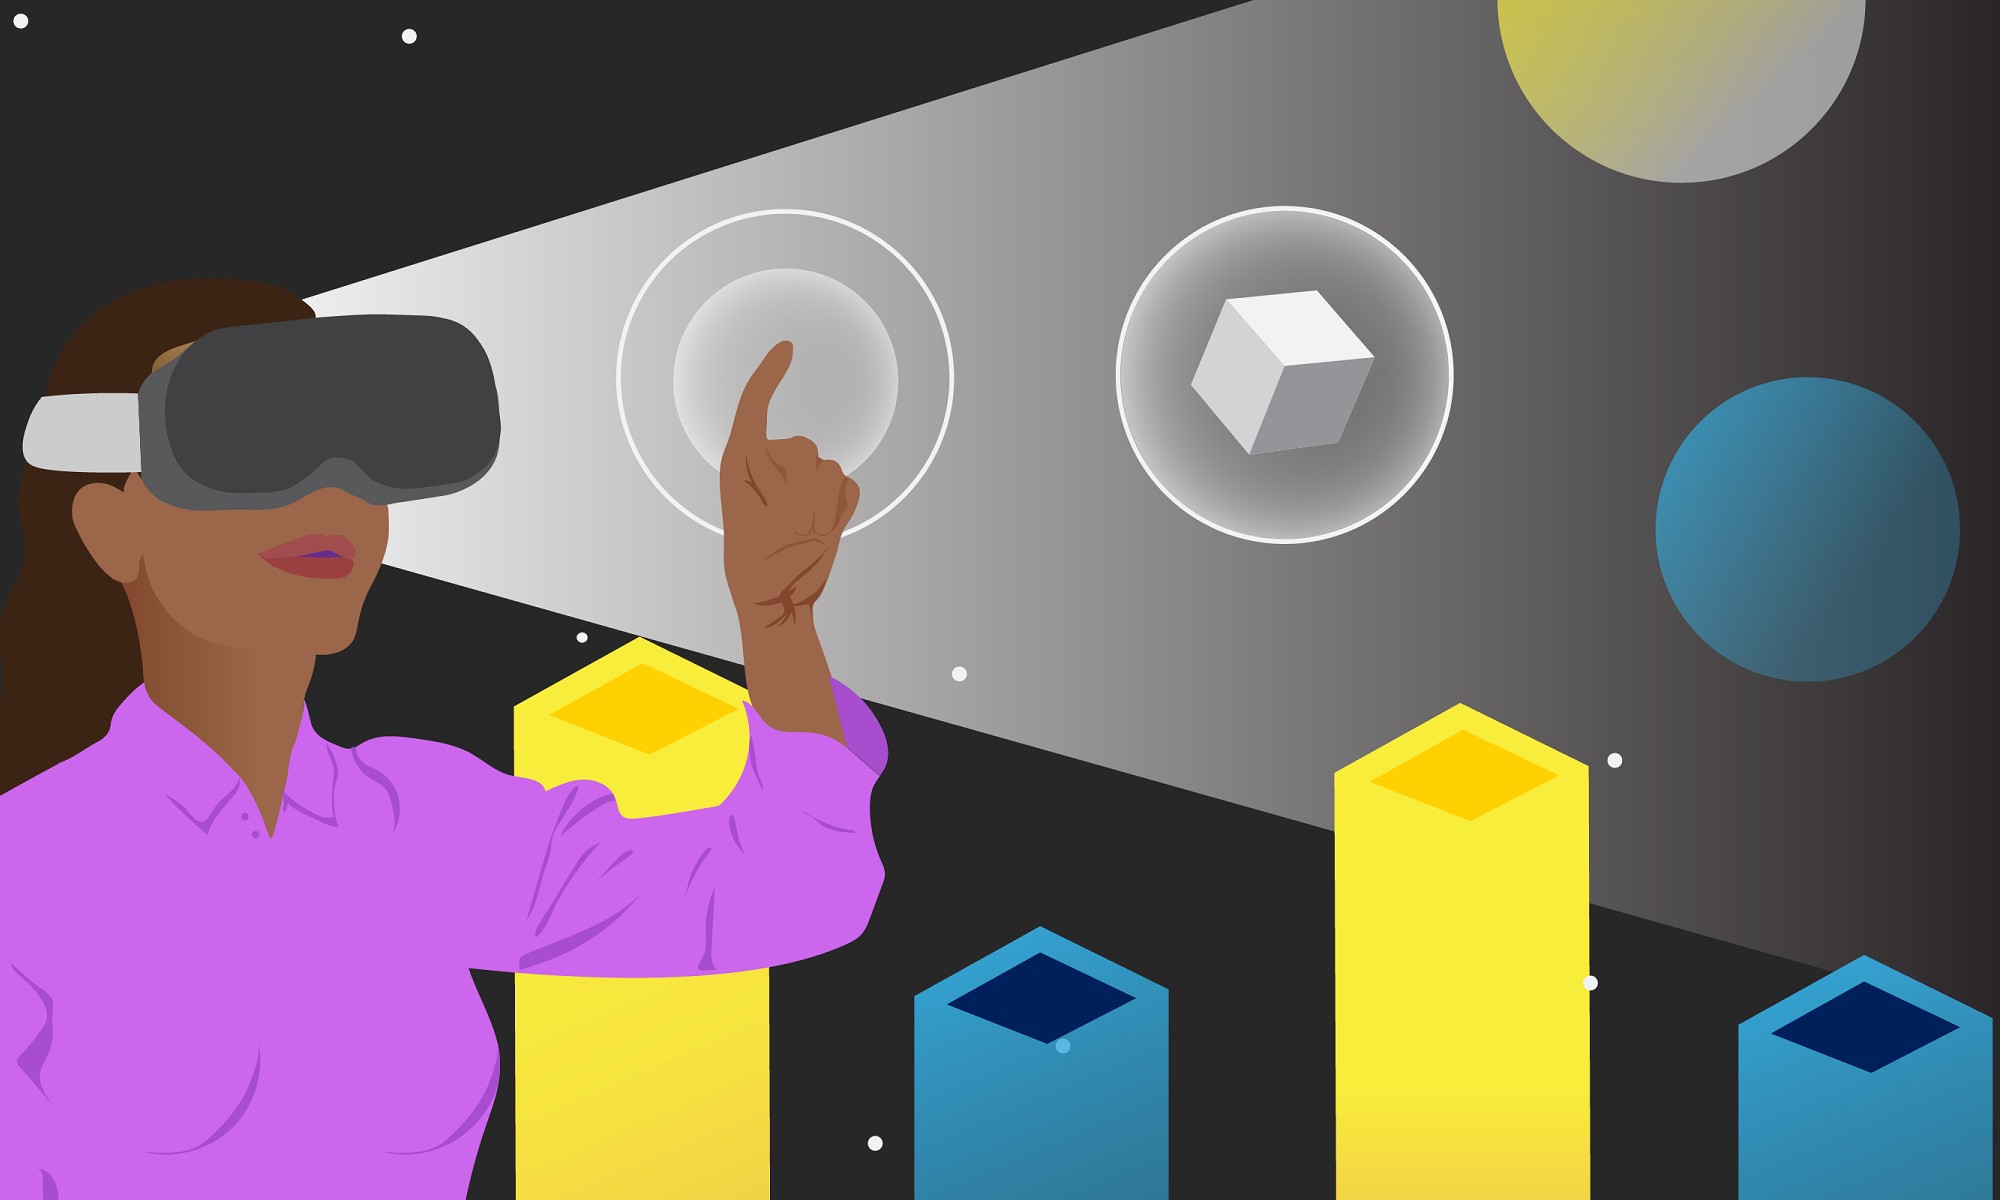
The second week of our program was focused on learning Unity. We wanted to teach the basics of Unity, get the students thinking about core game design principles, and introduce the world of VR development. The end goal for this week would be that each student would create their very own VR mini game, using the 3D character they modeled as the antagonist in their experience.

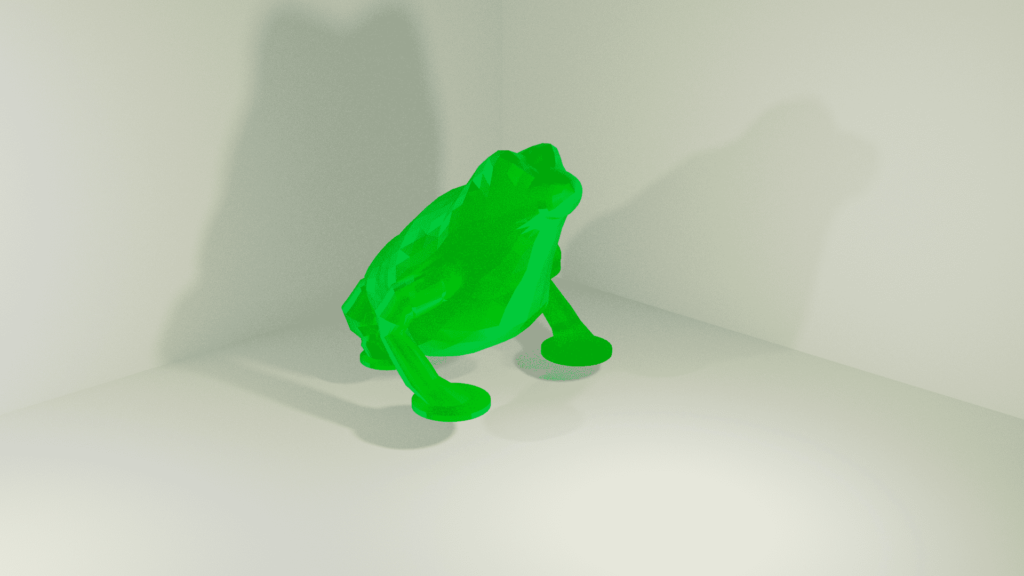
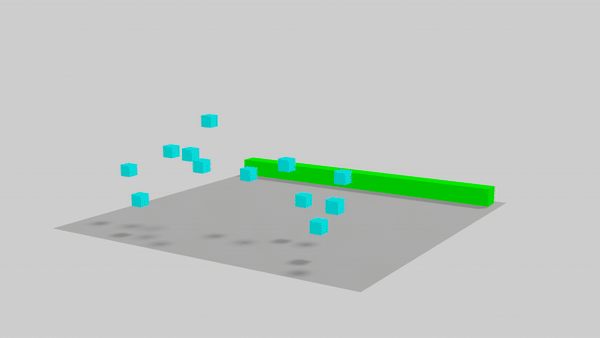
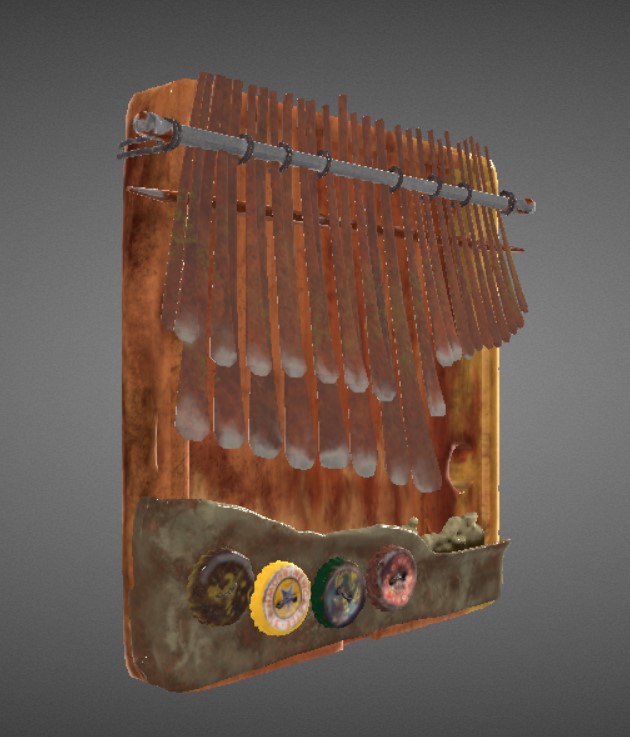
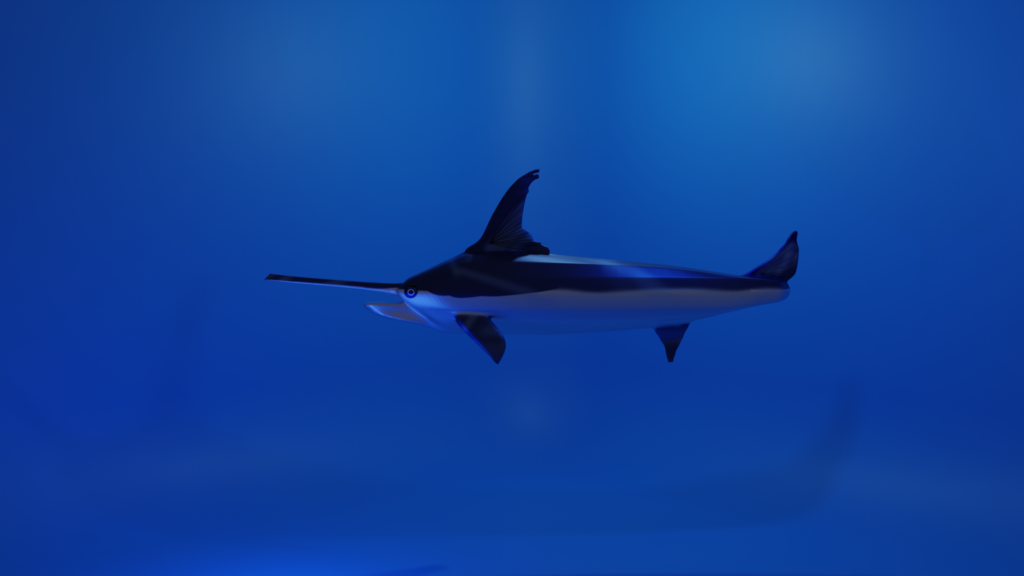
With so little time, it was really important that we had milestones to reach each day to make sure we stayed on track. On the first day working on their games, the students got an introduction to a template VR Unity project. I created this template using a beginner VR asset from the Unity Asset Store, a place where you can find free or paid packages to help you create games. The asset I used is linked here: VR Escape Room. This package handled a lot of the initial setup for a VR project that can be very complex, allowing the students to focus on their game concepts without being tied down or having to use too much coding. I also created a full VR mini game myself, giving the students an example of what their final project would look like. My game was called Jellyfishin, a game where the player has to go around catching Jellyfish. This game highlighted some of the main mechanics of the template and also was fun for the students to play around with.

Image showing a screenshot from the template project provided to the students
Screenshot from the template project provided to the students

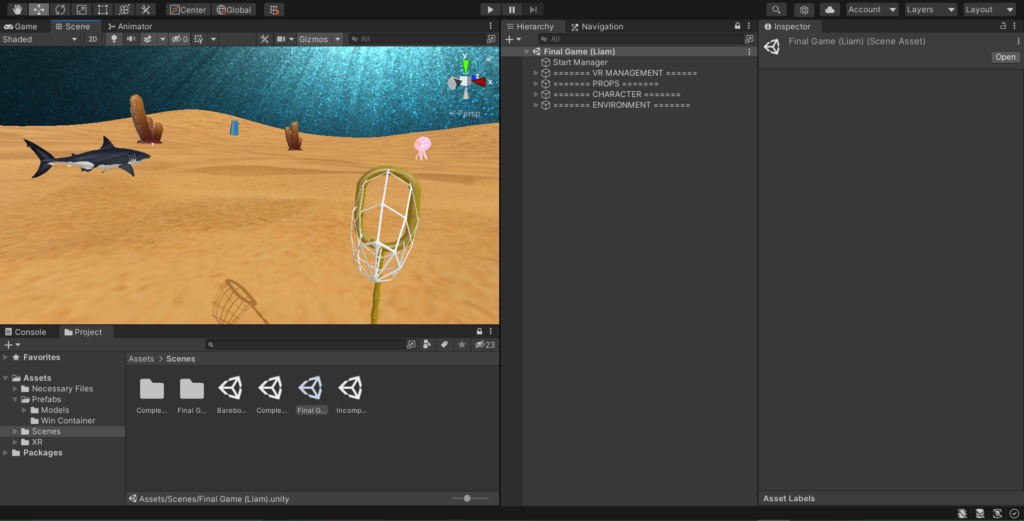
After being introduced to the template project, day 2 was all about environmental design. The students learned how to find resources to create their game world using a combination of free models, primitive objects, and their 3D characters that they made the week prior. By the end of day 2, the games really came together. I was really amazed at how much detail and care that each student put into their project, especially considering how little time that they had. The final development day was used to polish and finalize the games. We made sure that each student’s game could be playable start to finish and that there were no major problems with the experience. I think each project was really unique despite coming from the same template. It was so rewarding to see the tools we had created be used so well to create these awesome experiences.

On our final day with the students, it was time for the showcase. Staff members from all over the library came to Studio X, and each student had the opportunity to present their game. One-by-one they gave a quick introduction to their concept and then showed off some gameplay. In the world of game development, you never know if something is going to go wrong. One minor bug could throw off an entire demonstration. Thankfully, these students did an amazing job finalizing their games, and everything went off without a hitch. After two challenging weeks, our students left with a complete VR game, a 3D modeled character, and a set of skills they can continue to grow and use on their journey with XR.

XR Content Creation & World Building – Final Showcase

Being a part of this pre-college program throughout the summer has been an amazing learning experience for me. Through all of the preparation and thinking that went into making our goals possible, I really had to put my technical skills to the test. In the end, our planning really made all the difference and is what made the program run so smoothly. It was a great challenge to think about how we can teach so much information to the students in such a short amount of time, and I’m really proud of what we all accomplished. I can’t wait to see how this program continues to evolve and find more ways to lower the entrance barrier to the world of XR. Overall, it was a pretty great summer in Studio X.

Liam O’Leary

Karp Library Fellow, XR Developer

In a World Full of 3D Models, Researchers Build a New One for Leukemia

hand holding the the bone-marrow-on-chip device.

Wilmot Cancer Institute scientist published data that show a new microchip-like device that his lab developed can reliably model changes in the bone marrow as leukemia takes root and spreads.

hand holding the the bone-marrow-on-chip device.
Ben Frisch, PhD, holds the bone-marrow-on-chip device in his lab.

Ben Frisch, Ph.D., assistant professor of Pathology and Laboratory Medicine and Biomedical Engineering at the University of Rochester, and colleagues have been building what is known as a modular bone-marrow-on-chip to enhance the investigation of leukemia stem cells. The tiny device recapitulates the entire human bone marrow microenvironment and its complex network of cellular and molecular components involved in blood cancers.  

Similar tissue-chip systems have been developed by others, but they lack two key features contained in Frisch’s product: osteoblast cells, which are crucial to fuel leukemia, and a readily available platform.

The fact that Frisch’s 3D model has been published in Frontiers in Bioengineering and Biotechnology and is not a one-off fabrication will allow others in the field to adopt a similar approach using the available microfluidics system, he said.

Read more.

Blender 101: Valentine’s Day Edition

Blender workshop promotional image. Shows three teddy bears with the text: "Blender 101: Valentine's Day Edition. Model a Teddy Bear."

Join us while we create cute and unique teddy bears for Valentine’s Day! This workshop focuses on asset creation with the 3D modeling software, Blender. This open-source and free software has become the industry standard over the last couple of years. Learn how to navigate its workspace, tools, and hotkeys and become familiar with one of the most popular platforms of the industry. You will create a low-polygon model using provided reference images. Your model can then potentially be used as avatars in other XR projects or 3D workspaces such as Unity.

Join Studio X, UR’s hub for immersive technologies, and learn more about the digital world of extended reality (XR). All levels welcome. No experience necessary!

Note: Workshop attendees must bring a laptop with Blender installed. Please download this ahead of time.

Instructor: Nefle Nesli Oruç & Koshala Mathuranayagam
Where: Learning Hub, Studio X, First Floor Carlson Library
When: Thursday, February 10th from 6 to 7:30pm
Register: tinyurl.com/blender-valentines

My Journey With Blender and Some Tutorials to Get You Started!

3D model of a UR quad fox.

3D modeling can seem like something for just the professionals with fancy equipment, expensive programs, and hours upon hours of time. What if I told you that you could do 3D modeling using Blender on your own laptop, for free, and create a starter project in under an hour? Blender is a free and open-source 3D computer graphics software tool set used for creating a wide variety of things. With the models you create in Blender, you could go on to create animated films, 3D printed models, computer games, and even things in virtual reality.

I started learning Blender in Fall of 2020 through a class offered at the University. As a Creative Writing major, I never would have guessed that I would one day learn to use a 3D modeling software. After being so used to creating things with words on paper and making the occasional doodle with pen on paper, the idea of creating in 3D seemed so foreign to me. I was initially taking the class to fill a requirement but realized that I enjoyed using Blender and 3D modeling quite a bit. I already enjoyed drawing and doing other forms of digital art, so Blender soon began to feel like the next natural progression for me once I was introduced to the software.

After taking the class and getting the hang of things, I proceeded to remove it from my computer’s home screen and didn’t think about it again. The class had been stressful, and I thought that I would never need to use the program again. When the Spring rolled around, however, I got my position at Studio X. As part of my training, I was asked to attend one of Studio X’s workshops to better understand our programming goals and approach to engaging new XR users. I chose to attend one on Blender, since I was at least familiar with the software. During this workshop, I created a frog:

This frog helped me become reinterested in Blender, and before I knew it, I was making all sorts of little projects in my free time. I realized that Blender was more fun than the class had let me realize, as in Blender, you can create anything you can imagine! Now I hope to inspire others to introduce themselves to the software so they can get creative in their free time.

If you are interested in getting started with Blender, you’re in the right place. This article provides 6 beginner blender tutorials ranging from easy difficulty for those getting started for the very first time, to a harder difficulty for those who want a challenge or are working their way through this list!

Tips to keep in mind as we go:

  • When rendering your final projects, most of the tutorials recommend that you use Cycles. If you are doing this tutorial on a high-end desktop computer or at an innovation station in Studio X, that should be ok. If you are working from your own laptop, however, I would recommend sticking to Eevee, unless you have a super amazing laptop, otherwise you’ll be sitting there for hours waiting for it to render!
  • Most but not all of these tutorials have varying versions of shortcut viewer in either the left- or right-hand bottom corner of the blender viewport. Shortcut viewer allows you to see which buttons the instructor is pressing in case they forget to mention it.
  • The software may feel overwhelming, but as long as you remember to pause the video to follow along with the steps, it becomes quite manageable!

Easy

Blender 3D – Easy Lowpoly Car – Beginners Tutorial

This tutorial is great for people who are wanting to get an easy start in Blender. I was able to complete this tutorial in under an hour, and this does include all the times I paused to follow along. A few things that you might find a little hard to follow along with are the many shortcuts he uses but doesn’t take all that long to explain.

Adding Objects to the scene. He uses the shortcut Shift + A. If you find yourself forgetting this or would rather do it the long-handed way, you can instead go to the top left-hand corner of the screen where you will find the “Add” button. Hover over this and you will see the same menu.

Moving objects along an axis after duplication. This happened first when he is duplicating the wheels, and the command is Shift + D to duplicate. I was initially struggling with the “then press Y to move along the Y-axis, as what he doesn’t mention is that you release the “Shift + D” before hitting “Y.”

Other Notes to keep in mind:
I was having a little trouble with my Blender not showing me the colours that I was applying to my car, so to check, you can render out the image by going to the top left-hand corner and hovering over “Render” then selecting “Render image.” You may have to reposition the camera before this, though, as the rendering comes from what the camera sees [he explains cameras and positioning starting around 19:50]. The shortcut for rendering is F12.

The first part of the video [0:00-14:00] is all about the modeling, from [14:00-18:51] is all about the coloration of the car. From [18:51-end] he is playing around with the scene and lighting.

Here is the outcome I got when following along with the tutorial!

[2.8] Blender Tutorial: Simple Animation For Beginners

This tutorial provides the simplest introduction to animation that I’ve seen, and I think that it’s perfect for those just getting started. The instructor keeps to using very simple shapes, nothing more than several cubes and a plane. He doesn’t have the shortcut viewer on, but he explains everything step-by-step in a super easy-to-follow fashion. When something might be a little confusing, text appears on the screen with the instructions of what buttons to click. There were only a few instances in which I had to pause and squint at the screen to see which tab he’d clicked into. I was able to complete this tutorial in under 30 minutes, so it’s great if you only have a little bit of time!

Here is my animation result!


Medium

Rig your Own Ghost in Blender 3D for Halloween – EASY

This tutorial leans a little more to the medium-easy side. I would say that it’s pretty good overall, though the instructor goes through the steps quite fast and I found myself pausing a lot more often than I was in the “easy” tutorials. There are a few things he neglects to explain, so here are some of the things that stuck out to me the most!

[5:57] He magically transitions from Edit Mode to having the object be a pretty rainbow gradient. What he actually does is switch from Edit Mode to Weight Paint mode. He was able to tab into the mode due to his own personal settings, but here’s how you can do it: Go to the Upper left-hand corner of the screen to where you will likely see either “Object” or “Edit” mode. If you click this drop-down menu, you will see “Weight Paint” as an option.

[6:59] When pinning the ghost to the circle, make sure you click the ghost, then the circle, then ctrl +P (Order matters for a lot of things in blender!)

[7:10] When he says he’s going to grab the keyframe, there’s a small bar at the bottom of the screen in the center that has a little circle button (next to the play buttons). That button will grab a keyframe. You can also use the shortcut “I” which will prompt you to select which type of keyframe. For the purposes of this tutorial, just select “Location” in addition. When he moves the ghost over to pin a second keyframe, notice that you have to move the time bar across the bottom first, before moving the circle, otherwise it will just override the previous keyframe.

Note! At around timestamp 10:17,  I the video gets a little harder. You have completed the ghost’s body at this point, but the video then moves onto texture painting. Though the video itself has only run for about 10 minutes by this point, a beginner should stop here as this part took me about 40ish minutes to complete.

Here is the outcome of my ghost! (I chose to simply colour in two squares for the eyes):


Hard

Low Poly Island | Beginner | Blender 2.8 Tutorial

Note: Studio X does not endorse the sponsor of the video!

This tutorial does a good job of explaining each step of the process. the reason I would rate it a bit harder is because of the use of Nodes for textures, which can be tricky to follow along with at times. If you want the tutorial to remain at more of a beginner level, I would recommend stopping around timestamp 19:30, as at this point you have an island with the water and everything is already shaded. From 19:30 onwards, he begins to add more details like trees to the island. Going past 19:30 would also probably put you well past an hour for time of work. I looked at the comment section below the video and saw many people saying that the entire tutorial took them between 4-5 hours. I was able to do the island and the water alone  (with shading) in about 1 hour.

Things that might be confusing explained:

If you have the latest version of blender, set the resolution in the Dynotypo to 0.5 instead of 6! This is the new setting for low poly. If you put it to 6, it will be way too smooth!

10:34- Make sure you set the sun strength to something around 5-10! This is equivalent to the energy.

13:15 – He says to look at the blend settings. If you have a more up to date version of Blender, you will have to open the settings tab on the node editor.

14:21 – After you’ve selected “vertex paint” go to the shader editor window (where the nodes are). You should have already added a base material. Click Shift + A and then search for “Vertex colors” and add that. Connect the Yellow color dot to the base color yellow dot (that’s on the large green material node). Then change the color to the color name (default is Col, so select that). Then your color should start appearing. NOTE: He explains this later around 15:50, but you will have already completed it as the different versions work slightly different.

Here is my result!

Create Satisfying 3D Animations | Easy Blender Tutorial

Studio X does not endorse the sponsor of the video!

This tutorial is simple, though a little confusing to follow along. There are some times at which I struggled a bit to follow along with what he was saying (there was a lot of pausing and restarting). Up until he starts adding the textures, a strong-willed beginner could complete this tutorial. Once he gets to the textures around timestamp 8:00, however, I might wait until you know a little more about Blender before you tackle that part! The only instance I was completely baffled was at timestamp 3:25. In order to extrude in the way he does, you have to hit “E” and then “S” for the scaled extrusion.

Here is my result!


Conclusion

My journey through learning Blender may be different from yours, but there’s no doubt that you’ll be able to get the hang of it in no time! You don’t need an entire semester-long class to learn to master the basics of Blender thanks to the many resources available on the internet. As long as you have a computer, at least an hour of time, and the motivation to create, I’m sure you will power through these beginner instructions.

As I followed through these tutorials for myself, I began relearning the things I had forgotten from the class that seemed to have happened so long ago. Now, I’m working to improve my skills a little bit every week. With my increasing experience with the software, I am hoping to lead an Advanced Blender workshop for those daring to take on the challenge! I definitely wouldn’t call myself an expert at the software, but I’m certainly more confident than I was when I started. You too could learn these skills, and maybe even one day become a Blender master!

To download Blender for yourself, visit their website! https://www.blender.org/download/

Ayiana Crabtree
Ayiana Crabtree

Karp Library Fellow, XR Research

Resurrect3D

screenshot of a 3D modeled mbira on Resurrect3D

Resurrect3D is a browser-based 3D viewer currently in development by the Digital Scholarship Lab and the Lazarus Project. It is designed specifically as an open source alternative to services such as Sketchfab, with a suite of tools designed to facilitate scholarship and research of 3D objects. Contact digitalscholarshiplab [at] library.rochester.edu for more information.

Examples
Tuatara Skull (ward project)
mbira (Sekuru’s stories)
Hunt-Lenox globe (NYPL)
Instructions and Features
How to upload 3D files into Resurrect 3D and upload them to WordPress sites
A quick overview of Resurrect3D’s advanced features

3D Modeling Resources

screenshot of a 3D model of a girl that zooms in to illustrate that 3D models are made up of polygons

About

Platforms

Studio X Resources

Create a 3-D Animal with Blender (handout)
Create a Teddy Bear with Blender (tutorial)