My Summer At Studio X

a group of pre-college students posing for a group photo.

This summer, I worked full time at Studio X. Even though the campus felt pretty empty with almost all the other undergrads home for summer, there was a lot going on in Studio X! For example, for two weeks in July, we held a pre-college program called “XR: Content Creation and World Building.” In this program, high schoolers came all across the country to learn about the world of extended reality or XR.

“Learn how XR (the umbrella term for augmented and virtual reality) experiences are created! Students will study the history of immersive technologies and gain technical skills by exploring both the basics of 3D graphics for asset creation and how to develop XR environments with Unity, a popular game engine. We will also discuss the applications and impact of XR across humanities, social science, and STEM fields. All learning levels welcome.”

It was really exciting to be a part of this program to teach passionate students about XR creation. As we prepared for the students’ arrival, we asked ourselves, “How can we introduce a dozen high school students to the complex and technically challenging world of XR development, all within two weeks of half-day sessions?” This was a challenge indeed. We knew that we wanted the students to walk away with a basic understanding of the fundamentals of Blender, a 3D modeling and content creation tool, and Unity, a game engine commonly used for VR development, but we did not want to overwhelm them with too much new material all at once. We decided that we would have to create a highly detailed plan, carefully crafting how we would use the two weeks that we have with the students.

Over the course of June and early July, we worked to create this plan, taking every little detail into consideration. The first major obstacle we faced was how we were going to ensure that each student would have the necessary hardware and software in order to complete the activities we were planning. Blender and Unity can both be very taxing on computers, and it is often the case that folks don’t have the necessary hardware, even for our undergraduates. It was very important that this program was open to anyone who was interested and that technical experience or personal hardware was not a limitation. We decided that instead of having each student bring in their own computer, we would use the high-powered workstations that we already have in Studio X. This, however, created the question of how to organize a dozen PCs in our space that each use a very large amount of power. With 12 high-powered PC’s running all at the same time in the same place, we actually ended up blowing a circuit and had to re-think our plans. We considered several options, including using another space or splitting up the group into different rooms, but we eventually decided to completely reorganize Studio X in order to keep the group together in one space. I really liked the way we eventually configured the space, as it allowed us to keep the whole group together and helped us build a stronger community as we worked.
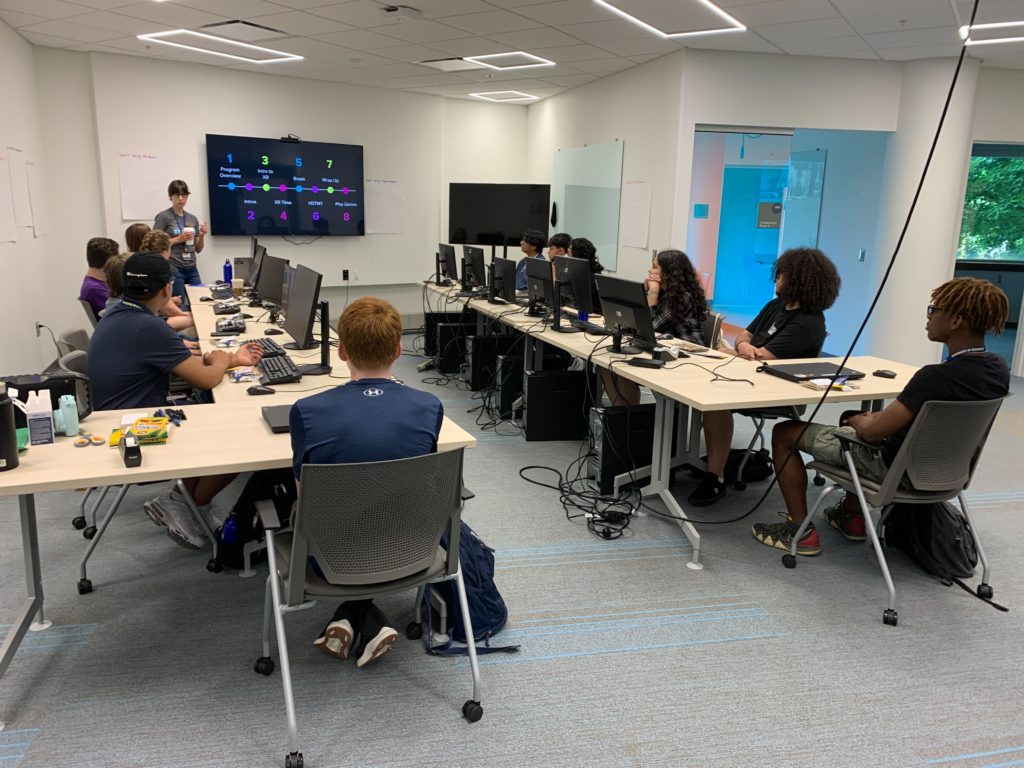
An image showing Studio X configured to have all 12 PCs in the same place
Studio X configured to have all 12 PCs in the same place

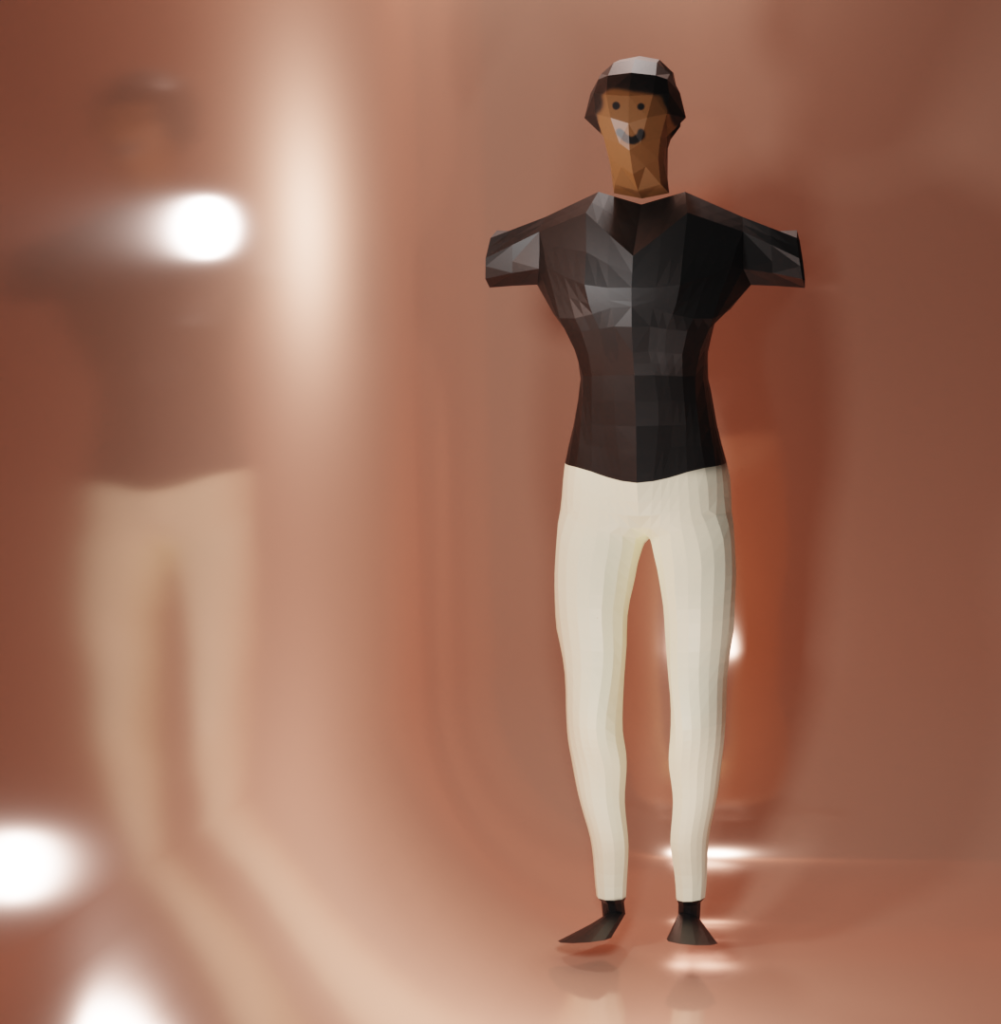
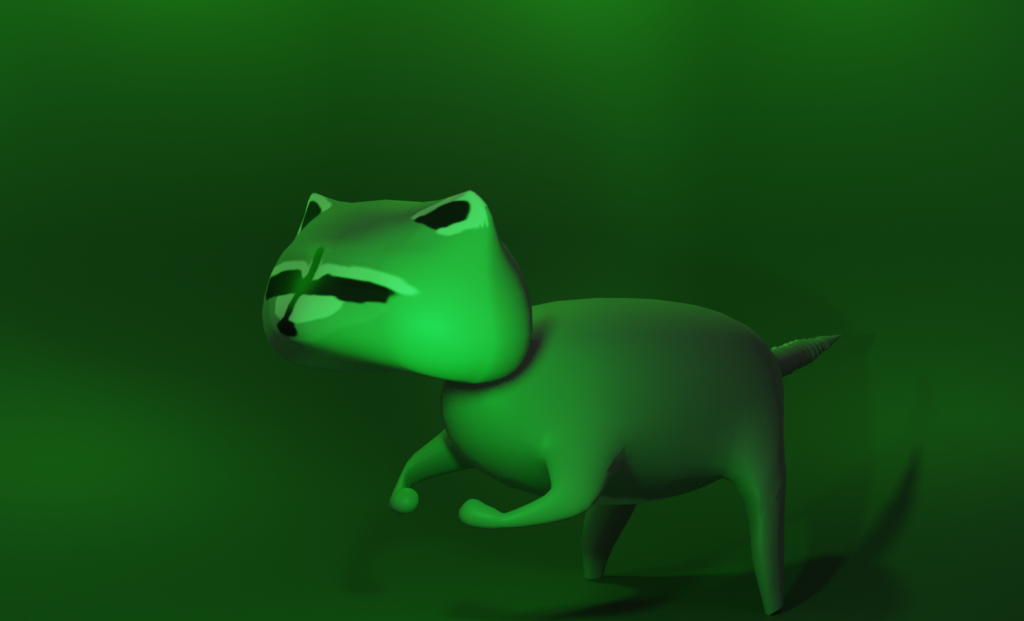
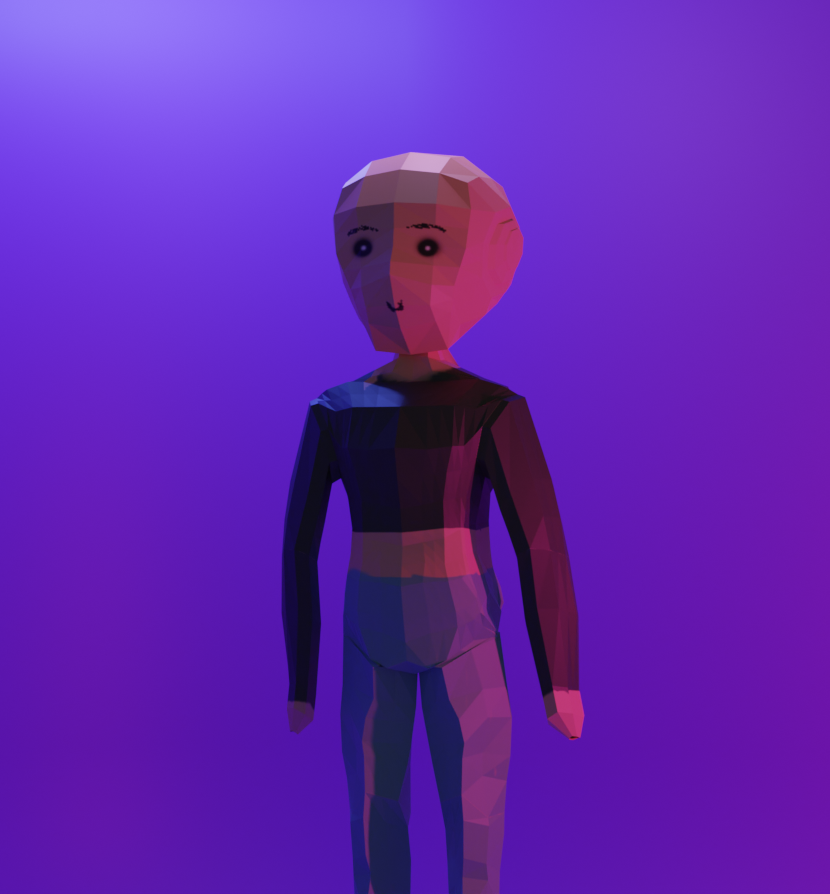
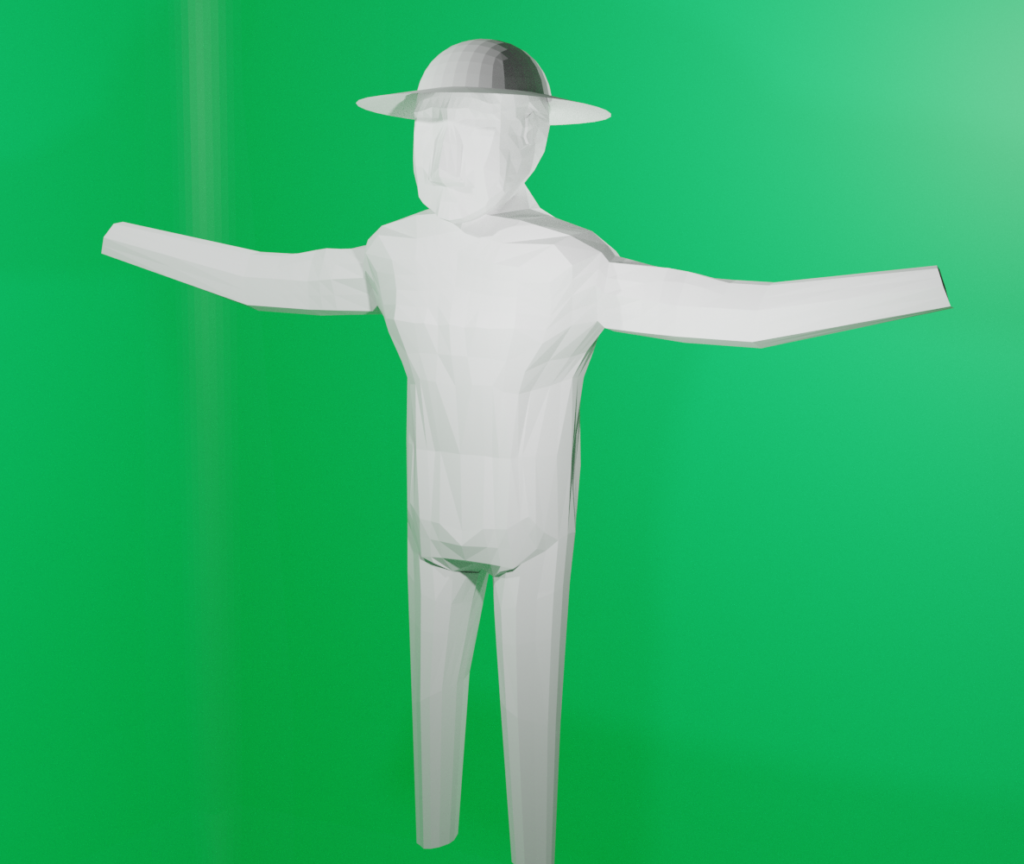
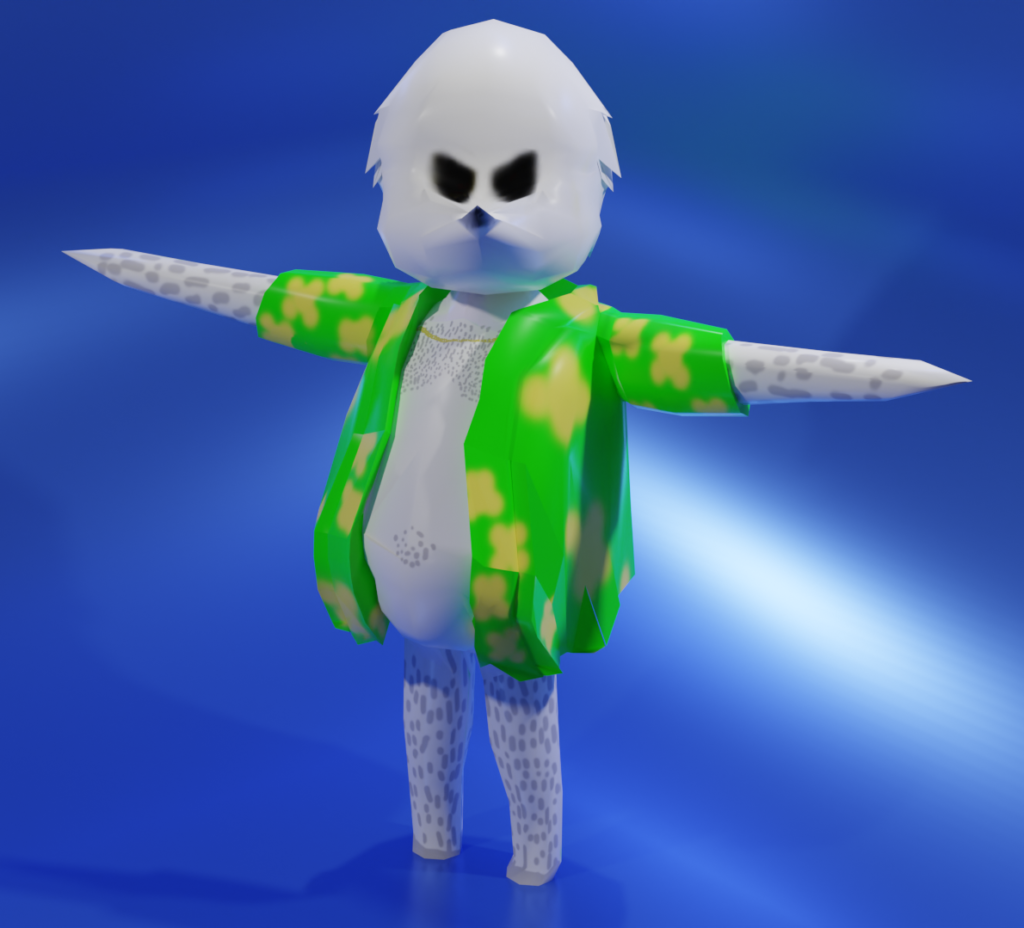
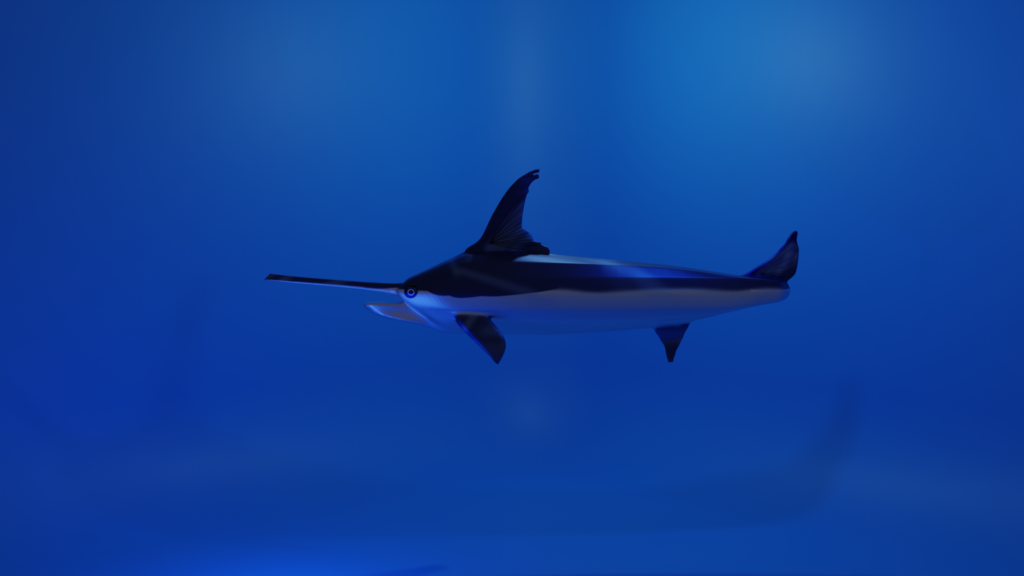
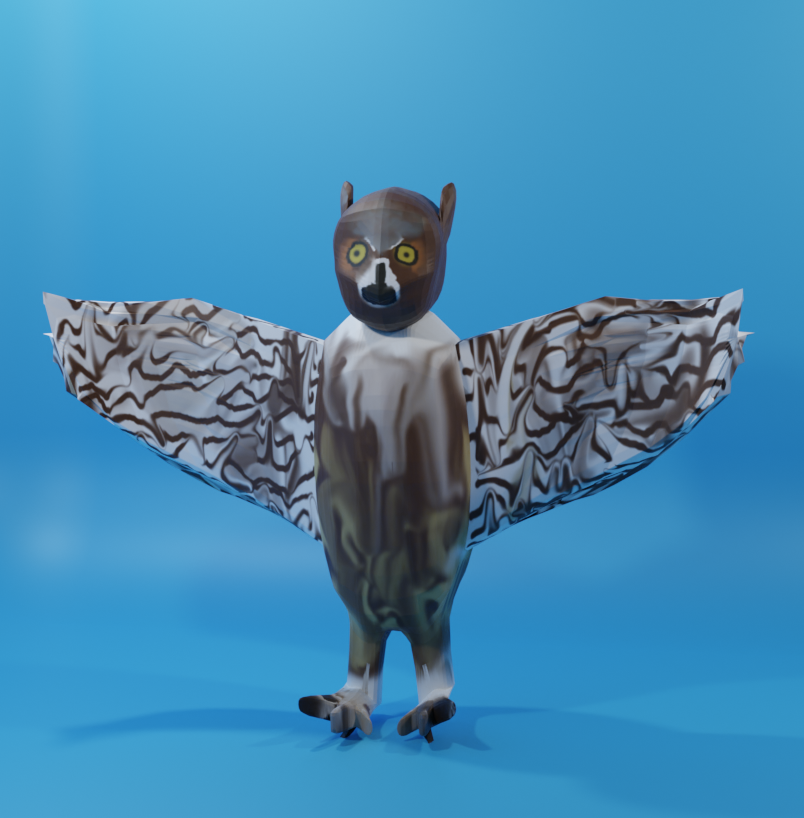
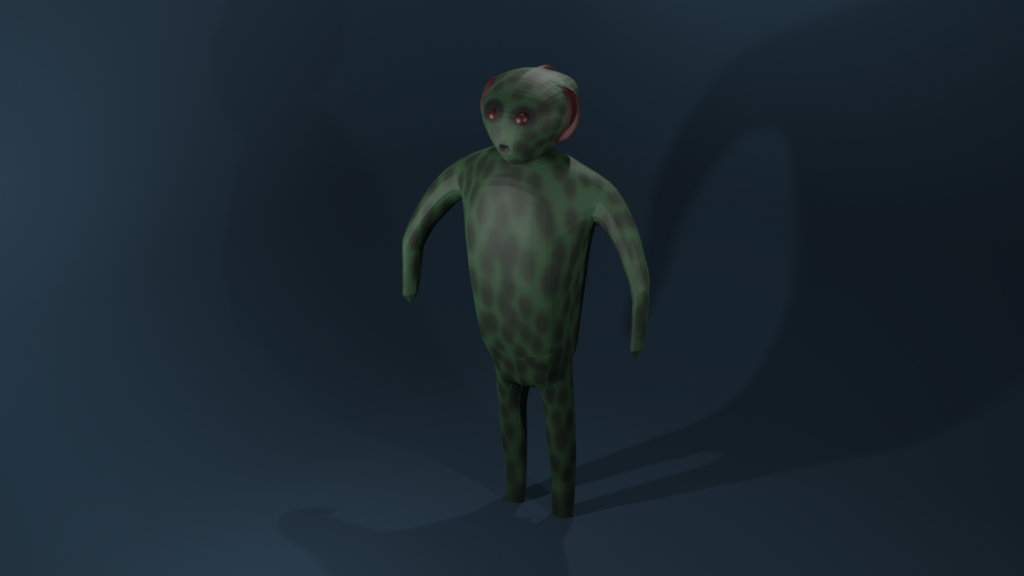
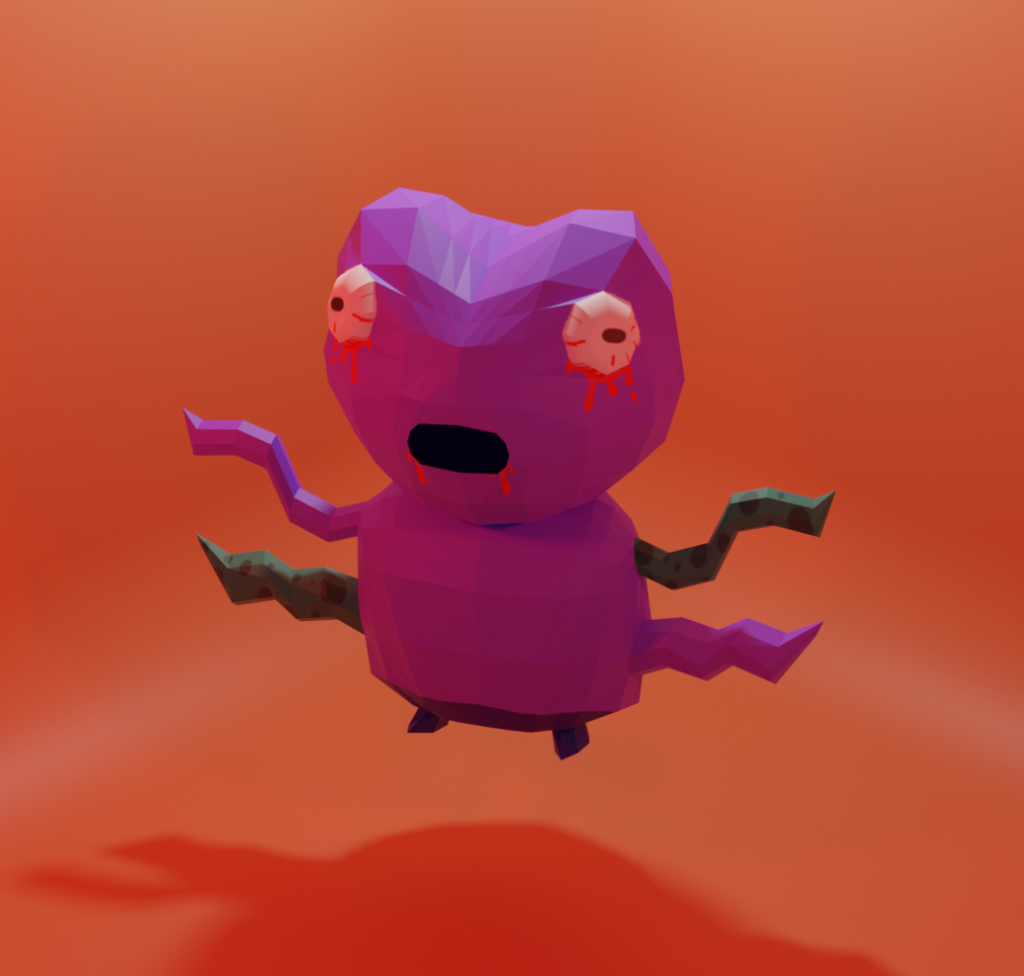
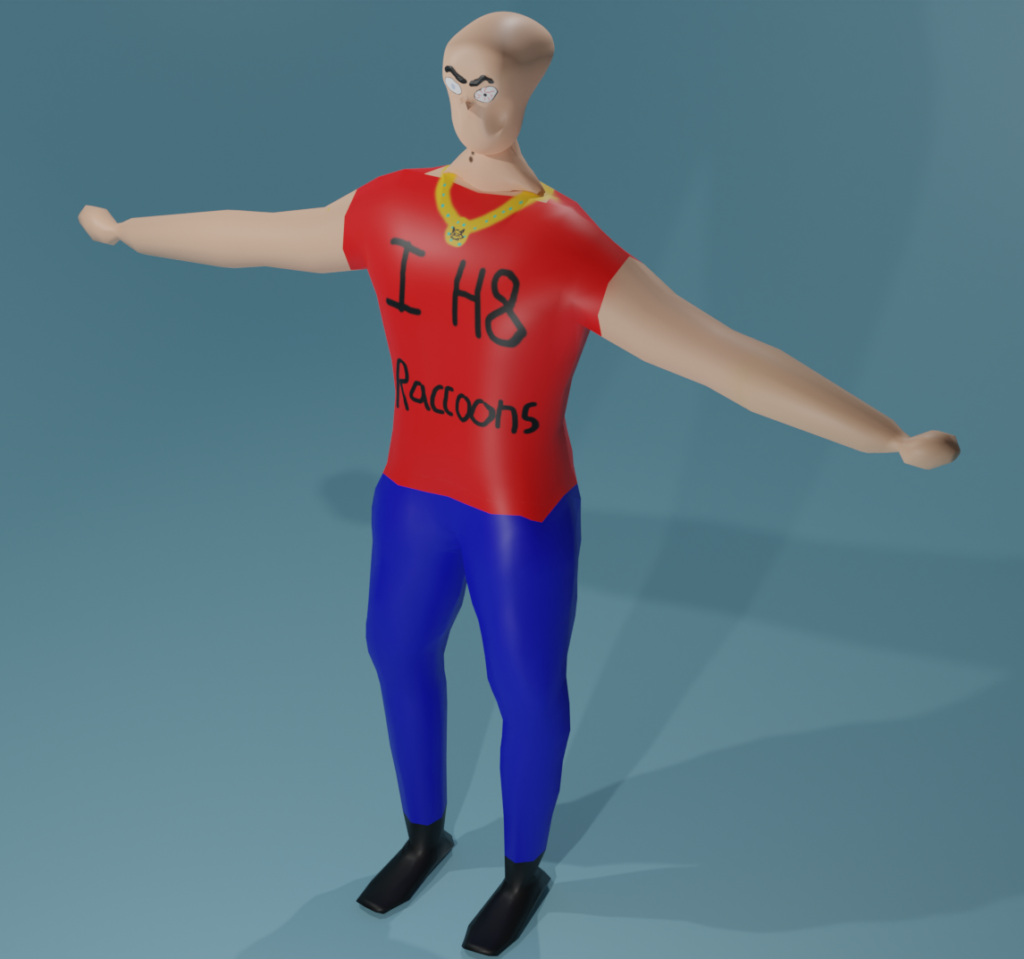
After solving our issue of how to organize the computers, we could focus our energy entirely on planning out how to best use the two weeks with the students. The first week was focused on learning Blender. We wanted to give an introduction to 3D concepts, Blender basics, and character modeling. We felt that this would give our students a foundational understanding of how to navigate Blender, while still being realistic with the time that we have. Blender can be a very challenging program to learn. There are many different things that you can do using the software, and oftentimes it can be very overwhelming the first time that you try it out. Although we felt like we were trying to introduce a lot in a short amount of time, we were very excited to see what the students could make. At the end of this week, each student had their very own 3D modeled character. The students did an amazing job creating their characters in Blender. It was so impressive how fast they were able to learn, and it felt so good to see our planning pay off.
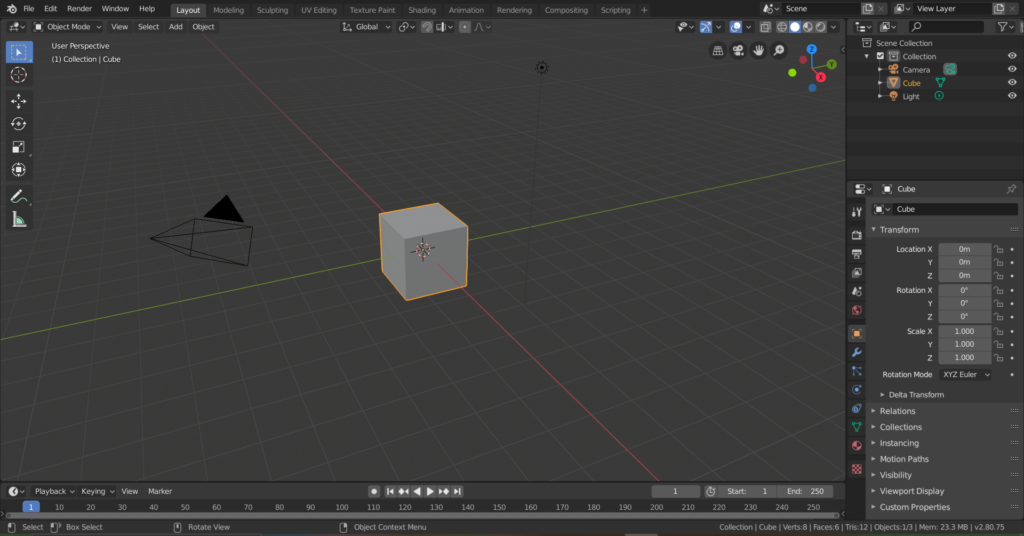
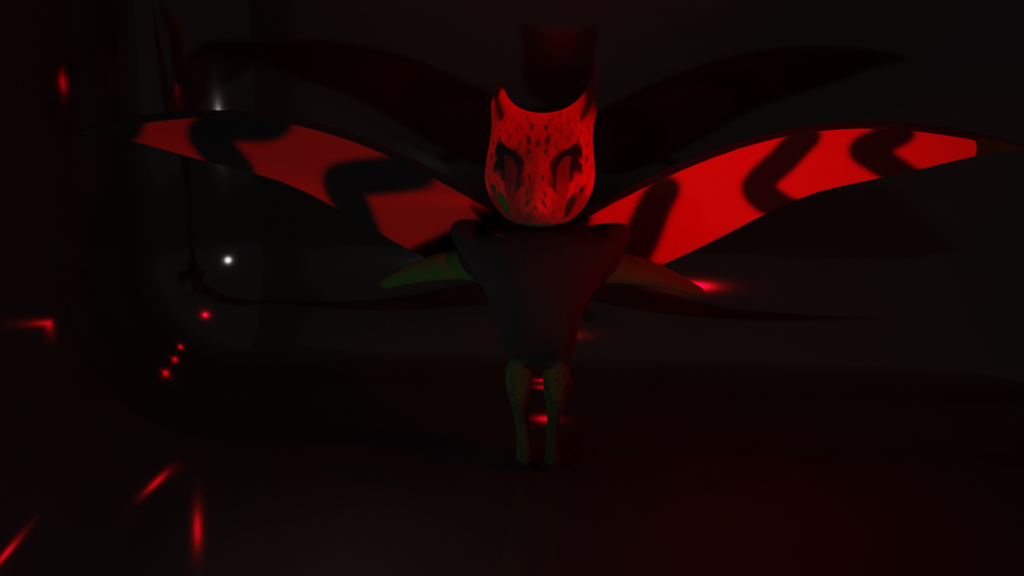
Image showing an example of Blender's UI
An example of Blender’s UI

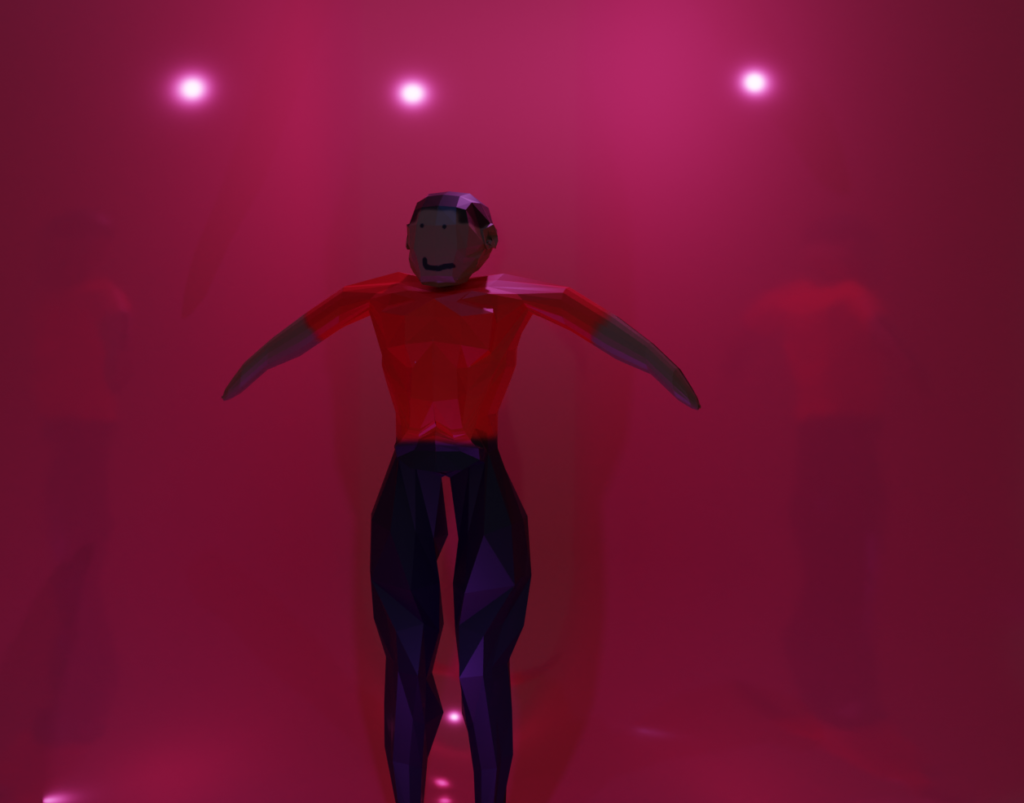
The second week of our program was focused on learning Unity. We wanted to teach the basics of Unity, get the students thinking about core game design principles, and introduce the world of VR development. The end goal for this week would be that each student would create their very own VR mini game, using the 3D character they modeled as the antagonist in their experience.

With so little time, it was really important that we had milestones to reach each day to make sure we stayed on track. On the first day working on their games, the students got an introduction to a template VR Unity project. I created this template using a beginner VR asset from the Unity Asset Store, a place where you can find free or paid packages to help you create games. The asset I used is linked here: VR Escape Room. This package handled a lot of the initial setup for a VR project that can be very complex, allowing the students to focus on their game concepts without being tied down or having to use too much coding. I also created a full VR mini game myself, giving the students an example of what their final project would look like. My game was called Jellyfishin, a game where the player has to go around catching Jellyfish. This game highlighted some of the main mechanics of the template and also was fun for the students to play around with.
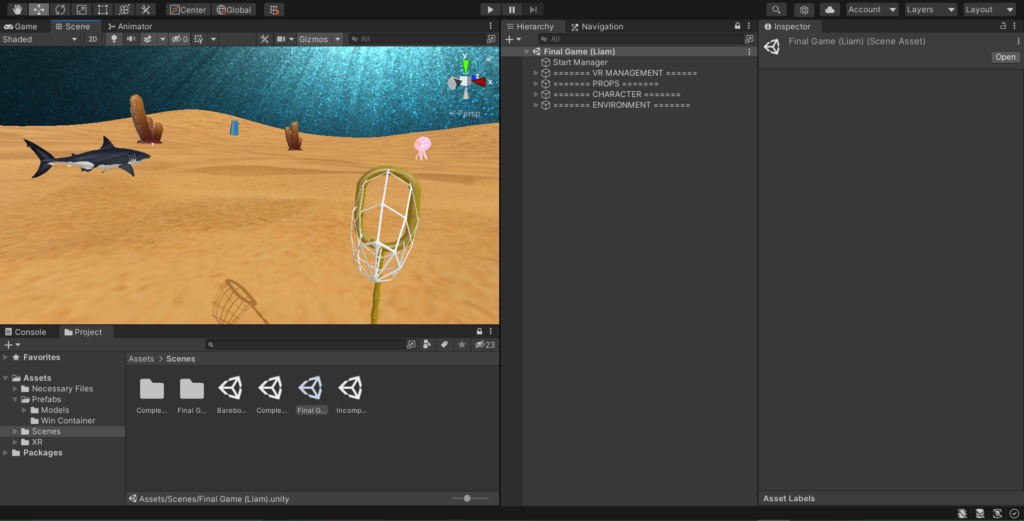
Image showing a screenshot from the template project provided to the students
Screenshot from the template project provided to the students

After being introduced to the template project, day 2 was all about environmental design. The students learned how to find resources to create their game world using a combination of free models, primitive objects, and their 3D characters that they made the week prior. By the end of day 2, the games really came together. I was really amazed at how much detail and care that each student put into their project, especially considering how little time that they had. The final development day was used to polish and finalize the games. We made sure that each student’s game could be playable start to finish and that there were no major problems with the experience. I think each project was really unique despite coming from the same template. It was so rewarding to see the tools we had created be used so well to create these awesome experiences.

On our final day with the students, it was time for the showcase. Staff members from all over the library came to Studio X, and each student had the opportunity to present their game. One-by-one they gave a quick introduction to their concept and then showed off some gameplay. In the world of game development, you never know if something is going to go wrong. One minor bug could throw off an entire demonstration. Thankfully, these students did an amazing job finalizing their games, and everything went off without a hitch. After two challenging weeks, our students left with a complete VR game, a 3D modeled character, and a set of skills they can continue to grow and use on their journey with XR.

XR Content Creation & World Building – Final Showcase

Being a part of this pre-college program throughout the summer has been an amazing learning experience for me. Through all of the preparation and thinking that went into making our goals possible, I really had to put my technical skills to the test. In the end, our planning really made all the difference and is what made the program run so smoothly. It was a great challenge to think about how we can teach so much information to the students in such a short amount of time, and I’m really proud of what we all accomplished. I can’t wait to see how this program continues to evolve and find more ways to lower the entrance barrier to the world of XR. Overall, it was a pretty great summer in Studio X.

Liam O’Leary

Karp Library Fellow, XR Developer

Create Your Own VR Flappy Bird in Unity

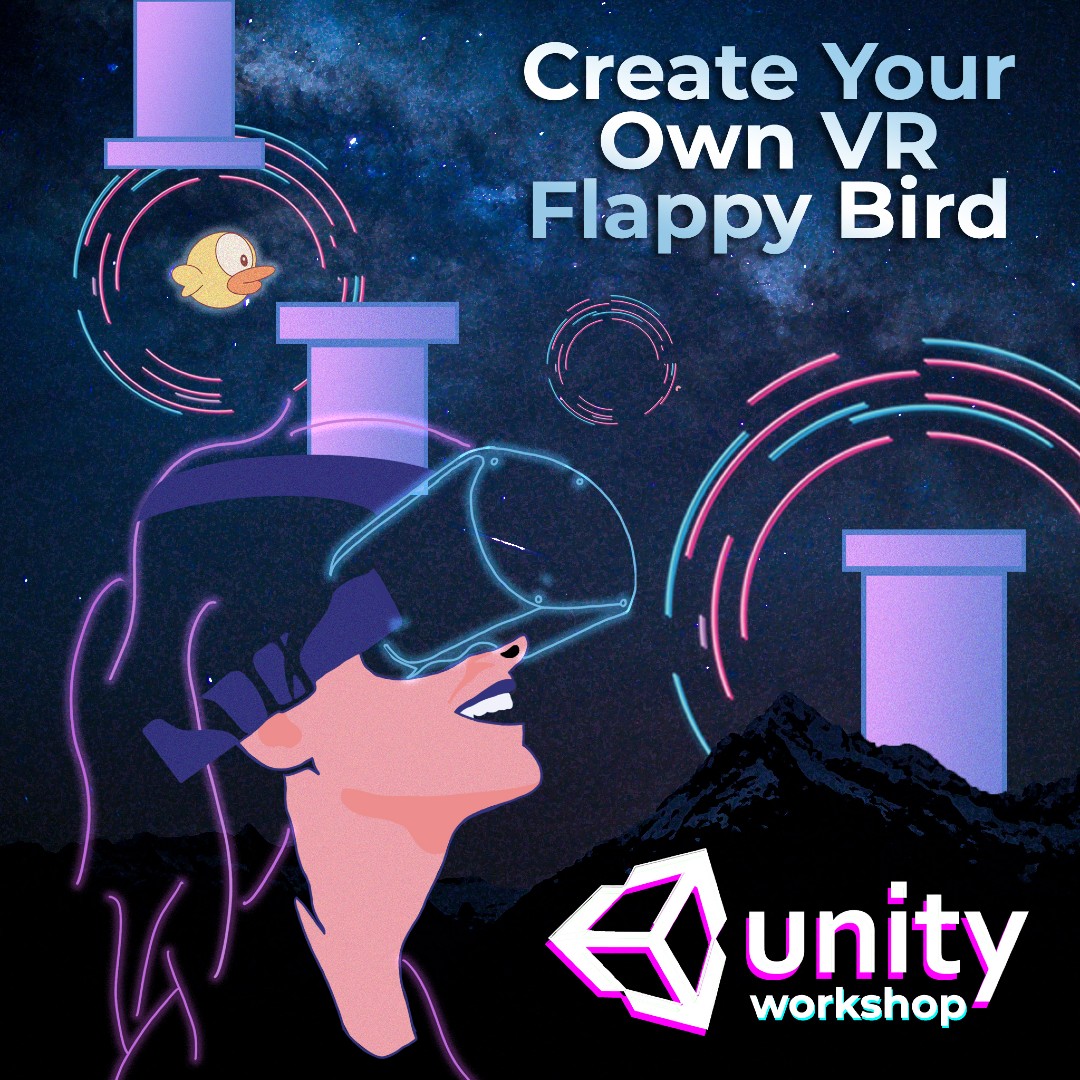
promotional image for workshop. Shows a person in a VR headset playing flapping bird. Text reads, "Create Your Own VR Flappy Bird"

Metaverse? Waste of time. VR Flappy Bird wherein you are the bird? That’s more like it. Come join us in learning what the future of VR truly looks like in our step-by-step workshop on how to make your own VR Flappy Bird game in Unity, a real-time creation platform used to build games, XR experiences, visualizations, and more! 

Join Studio X, UR’s hub for immersive technologies, and learn more about the digital world of extended reality (XR). All levels welcome. No experience necessary!

promotional image for workshop. Shows a person in a VR headset playing flapping bird. Text reads, "Create Your Own VR Flappy Bird"

Note: In order to participate, you will need to complete the pre-workshop instructions, which will be sent by email prior to the event. Need assistance with this process? Ask for help on the Studio X Discord (Quick Questions Channel). 

Instructor: Muhammed El-Sayed
Where: Studio X, Carlson Library First Floor
When: Thursday, 10/6 from 6 to 7:30pm
Register: libcal.lib.rochester.edu/event/9657308

Make Your Own VR Game in Unity

a person wearing a virtual reality headset in an underwater scene.

Learn how to create your very own VR game in Unity, a real-time creation platform used to build games, XR experiences, visualizations, and more! Participants will learn the basics of setting up a player character, locomotion, interaction, and environmental design for VR projects.

Join Studio X, UR’s hub for immersive technologies, and learn more about the digital world of extended reality (XR). All levels welcome. No experience necessary!

Note: In order to participate, you will need to complete the pre-workshop instructions, which will be sent by email prior to the event. Need assistance with this process? Ask for help on the Studio X Discord (Quick Questions Channel). 

Instructor: Liam O’Leary
Where: Studio X, Carlson Library First Floor
When: Tuesday, November 8th from 6 to 7:30pm
Register: libcal.lib.rochester.edu/event/9662356

AR Basics with Unity

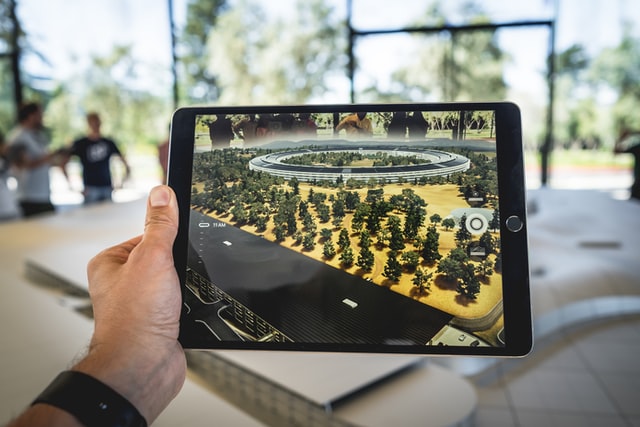
person holding a tablet displaying an augmented reality experience.

Like Pokémon Go or Angry Birds AR? Learn the basics of working with AR (augmented reality) in Unity, a real-time creation platform! Unity is the engine behind all kinds of experiences such as Pokémon Go, Beat Saber, and the new Lion King movie. We’ll discuss how AR apps track objects and images in the real world and show you step-by-step how to create your very own AR experience on a device.

Join Studio X, UR’s hub for immersive technologies, and learn more about the digital world of extended reality (XR). All levels welcome. No experience necessary!

a person holding a tablet that displays an augmented reality experience.

Note: In order to participate, you will need to complete the following pre-workshop instructions. Need assistance with this process? Join us on the Studio X Discord.

Where: Learning Hub, Studio X, First Floor Carlson Library
When: Wednesday, 11/17/2021 from 4 to 5:30pm
Register: https://libcal.lib.rochester.edu/event/8274041

This is the final workshop in our three-part Unity workshop series.

Unity Workshop Series

person playing Beat Saber in a virtual reality headset.

Interested in building virtual worlds, VR simulations, AR applications, and more? Meet Unity, an industry-standard, real-time creation platform used for video games, animations, and XR projects! In this Unity crash course, you will learn about its user interface, the basics of coding, its physics engine, and AR basics. Leveraging this knowledge, you will explore a zombie-infested campus, create your own AR application, and more! Join the Studio X team for this fun and informative 3-week workshop series. All learning levels are welcome. No experience necessary! While we recommend signing up for all four workshops, you are also welcome to attend as many or as few as you can.

AR Basics with Unity
11/17/2021 @4PM


Note: In order to participate, you will need to complete the following pre-workshop instructions. Need assistance with this process? Join us on the Studio X Discord.

Where: Learning Hub, Studio X, First Floor Carlson Library
When: Wednesdays, 10/27/21 – 11/17/21 from 4 to 5:30pm
Register: Full Series

Rube Goldberg Machine Unity Pre-Workshop Instructions

This looks like a lot, but it’s not. Just making the process super-duper clear. 😉

Depending on your computer and internet connection, these steps may take some time. We’ve provided time estimates for each step. You will be downloading three items: the Unity Hub, the Unity software, and a Unity project package. You must download and install them in this order. All are free.

Unity System Requirements – This page outlines the basic system requirements you need to run Unity 2019.4.

Step 1: Download and Install the Unity Hub (available on Mac and PC) (~2 minutes)

The Unity Hub is a standalone application that streamlines the way you find, download, and manage your Unity Projects and software installations. Read more about the Unity Hub here.

  1. In a new tab, either Google “Download Unity Hub” or go to https://unity3d.com/get-unity/download, and then click Download Unity Hub.
  2. From your Downloads folder, double-click on the Unity Hub Setup file to begin the installation. (If on a Mac, drag the application into your Applications folder, then double-click on it.)
  3. Agree to Unity Terms of Service and follow the instructions to install Unity Hub.
  4. Open Unity Hub for the first time.
Mac Instructions

PC Instructions available via the first video on this page.

Step 2: Download and install Unity version 2020.2.4 (~10 minutes depending on your computer and internet connection)

There are many different versions of the Unity software, as its developed and released over time. During this workshop, we’ll be using version 2020.2.4.

  1. In the Installs tab, click Add to add a new Unity version.
  2. Click on the archive link.
  3. Locate version 2020.2.4.
  4. Click the green Unity Hub button.
  5. Accept any necessary terms and conditions and begin installation.

Step 3: Create a Unity ID

  1. From the Account menu in Unity Hub, click to Sign in.
  2. If you already have an account, sign in. Otherwise, you can create a new Unity ID.

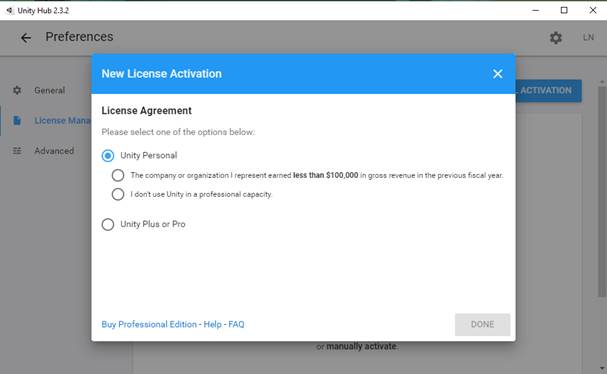
You may receive a notice about needing to activate a license. You can do this under the settings menu (click the cog in the upper-right corner). From there, you can click License Management in the menu and choose a personal license.

Screenshot of the Unity Hub with a new license activation window.
Choose Unity Personal and I don’t use Unity in a professional capacity.

Step 4: Download and Import the Unity Package (~10 minutes depending on your computer and internet connection)

Unity packages are a handy way of sharing and re-using Unity projects and collections of assets. Packages consist of collections of file and data that make up Unity projects. For our workshop, we’ve provided you with a custom Unity package.

  1. Go to this link.
  2. Download the Unity package.
  3. Create a new project with version 2020.2.4.
  4. Import the package.
  5. Save the project and exit.

Step 5: Download and review the workshop handout.

The handout provides info about the Unity interface, key terms, and navigation tips.

Step 6: Use a Mouse*

You do not need a mouse to participate, but it’s helpful to have. Otherwise, please be prepared to right-click on your computer’s track pad.

Pre-Workshop Instructions (~15 minutes depending on download speed)

This looks like a lot, but it’s not. Just making the process super-duper clear. 😉

Step 1: Download and Install the Unity Hub (available on Mac and PC) (~2 minutes)

The Unity Hub is a standalone application that streamlines the way you find, download, and manage your Unity Projects and software installations. Read more about the Unity Hub here.

  1. In a new tab, either Google “Download Unity Hub” or go to https://unity3d.com/get-unity/download, and then click Download Unity Hub.
  2. From your Downloads folder, double-click on the Unity Hub Setup file to begin the installation. (If on a Mac, drag the application into your Applications folder, then double-click on it.)
  3. Agree to Unity Terms of Service and follow the instructions to install Unity Hub.
  4. Open Unity Hub for the first time.
Mac Instructions

PC Instructions available via the first video on this page.

Step 2: Download and install Unity version 2021.1.16f1 (~10 minutes depending on your computer and internet connection)

There are many different versions of the Unity software, as its developed and released over time. During this workshop, we’ll be using version 2021.1.16f1.

  1. In the Installs tab, click Add to add a new Unity version.
  2. Choose 2021.1.16f1
  3. Choose to install Visual Studio (for Mac or PC) and Android Build Support
  4. Accept any necessary terms and conditions and begin installation.

Step 3: Create a Unity ID

  1. From the Account menu in Unity Hub, click to Sign in.
  2. If you already have an account, sign in. Otherwise, you can create a new Unity ID.

You may receive a notice about needing to activate a license. You can do this under the settings menu (click the cog in the upper-right corner). From there, you can click License Management in the menu and choose a personal license.

Screenshot of the Unity Hub with a new license activation window.
Choose Unity Personal and I don’t use Unity in a professional capacity.

Step 4: Review the workshop handout.

The handout provides info about the Unity interface, key terms, and navigation tips.

Pre-Workshop Instructions 1 (~30 minutes depending on download speed)

This looks like a lot, but it’s not. Just making the process super-duper clear. 😉

There are six steps to complete this pre-work. Depending on your computer and internet connection, these steps may take some time. We’ve provided time estimates for each step. You will be downloading three items: the Unity Hub, the Unity software, and a Unity project package. You must download and install them in this order. All are free.

Unity System Requirements – This page outlines the basic system requirements you need to run Unity 2019.4.

Step 1: Download and Install the Unity Hub (available on Mac and PC) (~2 minutes)

The Unity Hub is a standalone application that streamlines the way you find, download, and manage your Unity Projects and software installations. Read more about the Unity Hub here.

  1. In a new tab, either Google “Download Unity Hub” or go to https://unity3d.com/get-unity/download, and then click Download Unity Hub.
  2. From your Downloads folder, double-click on the Unity Hub Setup file to begin the installation. (If on a Mac, drag the application into your Applications folder, then double-click on it.)
  3. Agree to Unity Terms of Service and follow the instructions to install Unity Hub.
  4. Open Unity Hub for the first time.
Mac Instructions

PC Instructions available via the first video on this page.

Step 2: Download and install Unity version 2019.4 (~10 minutes depending on your computer and internet connection)

There are many different versions of the Unity software, as its developed and released over time. During this workshop, we’ll be using version 2019.4. You’ll notice that there might be several versions of 2019.4. It doesn’t matter which one.

  1. In the Installs tab, click Add to add a new Unity version.
  2. Choose 2019.4._
  3. Choose to install Visual Studio (for Mac or PC)
  4. Accept any necessary terms and conditions and begin installation

Step 3: Create a Unity ID

  1. From the Account menu in Unity Hub, click to Sign in.
  2. If you already have an account, sign in. Otherwise, you can create a new Unity ID.

You may receive a notice about needing to activate a license. You can do this under the settings menu (click the cog in the upper-right corner). From there, you can click License Management in the menu and choose a personal license.

Screenshot of the Unity Hub with a new license activation window.
Choose Unity Personal and I don’t use Unity in a professional capacity.

Step 4: Download and Import the Unity Package (~10 minutes depending on your computer and internet connection)

Unity packages are a handy way of sharing and re-using Unity projects and collections of assets. Packages consist of collections of file and data that make up Unity projects. For our workshop, we’ve provided you with a Unity package of the Eastman Quad.

There are two options of this package:
Option 1: Robust – The full, detailed 3D version of Eastman Quad (~800 MB)
Option 2: Minimal – Rush Rhees Library + the quad green (recommended for slower internet connections) (~450MB)

Step 5: Download and review the workshop handout.

The handout provides info about the Unity interface, key terms, and navigation tips. If you have access to a printer, please print it.

Step 6: Use a Mouse*

You do not need a mouse to participate, but if you’re a new user, it will be very helpful. Otherwise, please be prepared to right-click on your computer’s track pad.

Game Engines

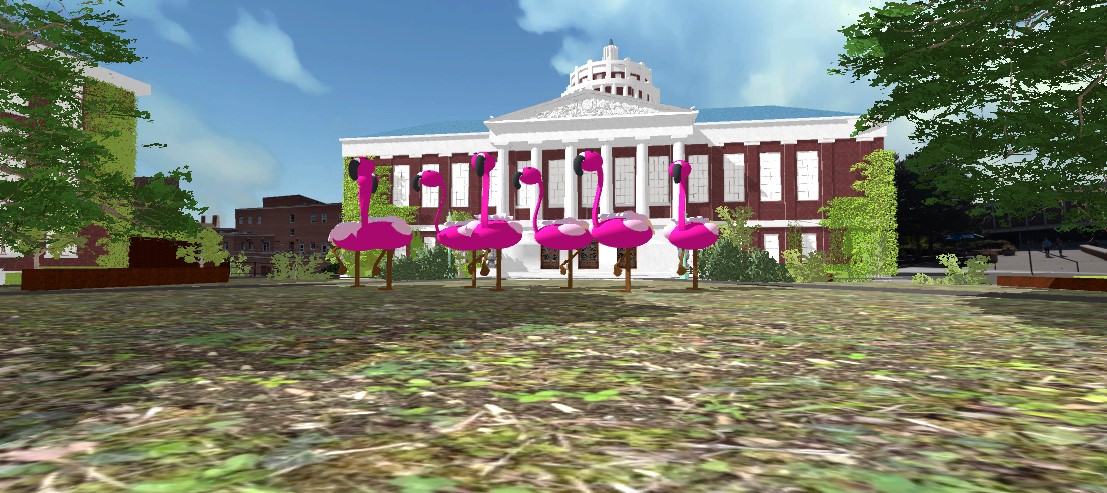
screenshot of a Unity project featuring a 3D-modeled Rush Rhees library in the background with a herd of flamingos in the foreground

Unity – Software Download

Unity Learn Resources Pathways – A document to help you navigate resources and pathways to learn Unity from complete beginner to certification

Workshop Resources:

Beginner Resources:

General Overview

Scripting

Virtual Reality

Animation

More Advanced:

More Tutorials:

Reference:

Troubleshooting:

Backing Up:

Use Cases:

Privacy:

Unreal Engine – Software Download